Ready to unleash your inner video wizard? If you’ve ever scrolled through YouTube, lost in a sea of captivating videos, and thought, “I want to create something just like that,” you’re in the right spot! Editing might sound intimidating at first—like trying to solve a Rubik’s Cube blindfolded—but don’t fret! In this guide, we’re breaking it down into bite-sized, easy-to-digest pieces. From snipping clips like a pro to adding cool effects that wow your friends, we’ll help you master the art of YouTube editing with flair. So grab your favorite beverage, put on your creative cap, and let’s embark on this editing adventure together! Your video journey is just a click away.
Crafting Your Narrative: The Art of Storytelling in Video Editing

When it comes to video editing, think of yourself as a storyteller weaving a tapestry of visuals, sounds, and emotions. Each cut, transition, and effect is like a brushstroke on a canvas, shaping how your audience feels about your narrative. To make your story resonate, pay attention to the pacing—how scenes flow into one another can dictate the energy and tone. Use a mix of close-ups for emotional punch, and wide shots to establish context. Grab a few clips that can serve as the backbone of your narrative, but don’t hesitate to let those unexpected moments shine; they often add a unique flavor that keeps viewers engaged.
Another crucial element is sound design. It’s not just the dialogue; it’s the ambient sounds and music that elevate your story from mundane to magical. You want your audience to feel the weight of a dramatic pause or the excitement of an action scene. Try experimenting with sound effects to create a richer experience. To visualize your planning, consider using a simple table to lay out clip ideas and sound elements:
| Clip Type | Sound Design Element |
|---|---|
| Intro Scene | Soft Ambient Music |
| Action Sequence | Upbeat Soundtrack |
| Emotional Moment | Subtle Heartbeat Sound |
| Outro | Fading Melodic Tune |
Essential Tools and Techniques: Editing Software That Wows

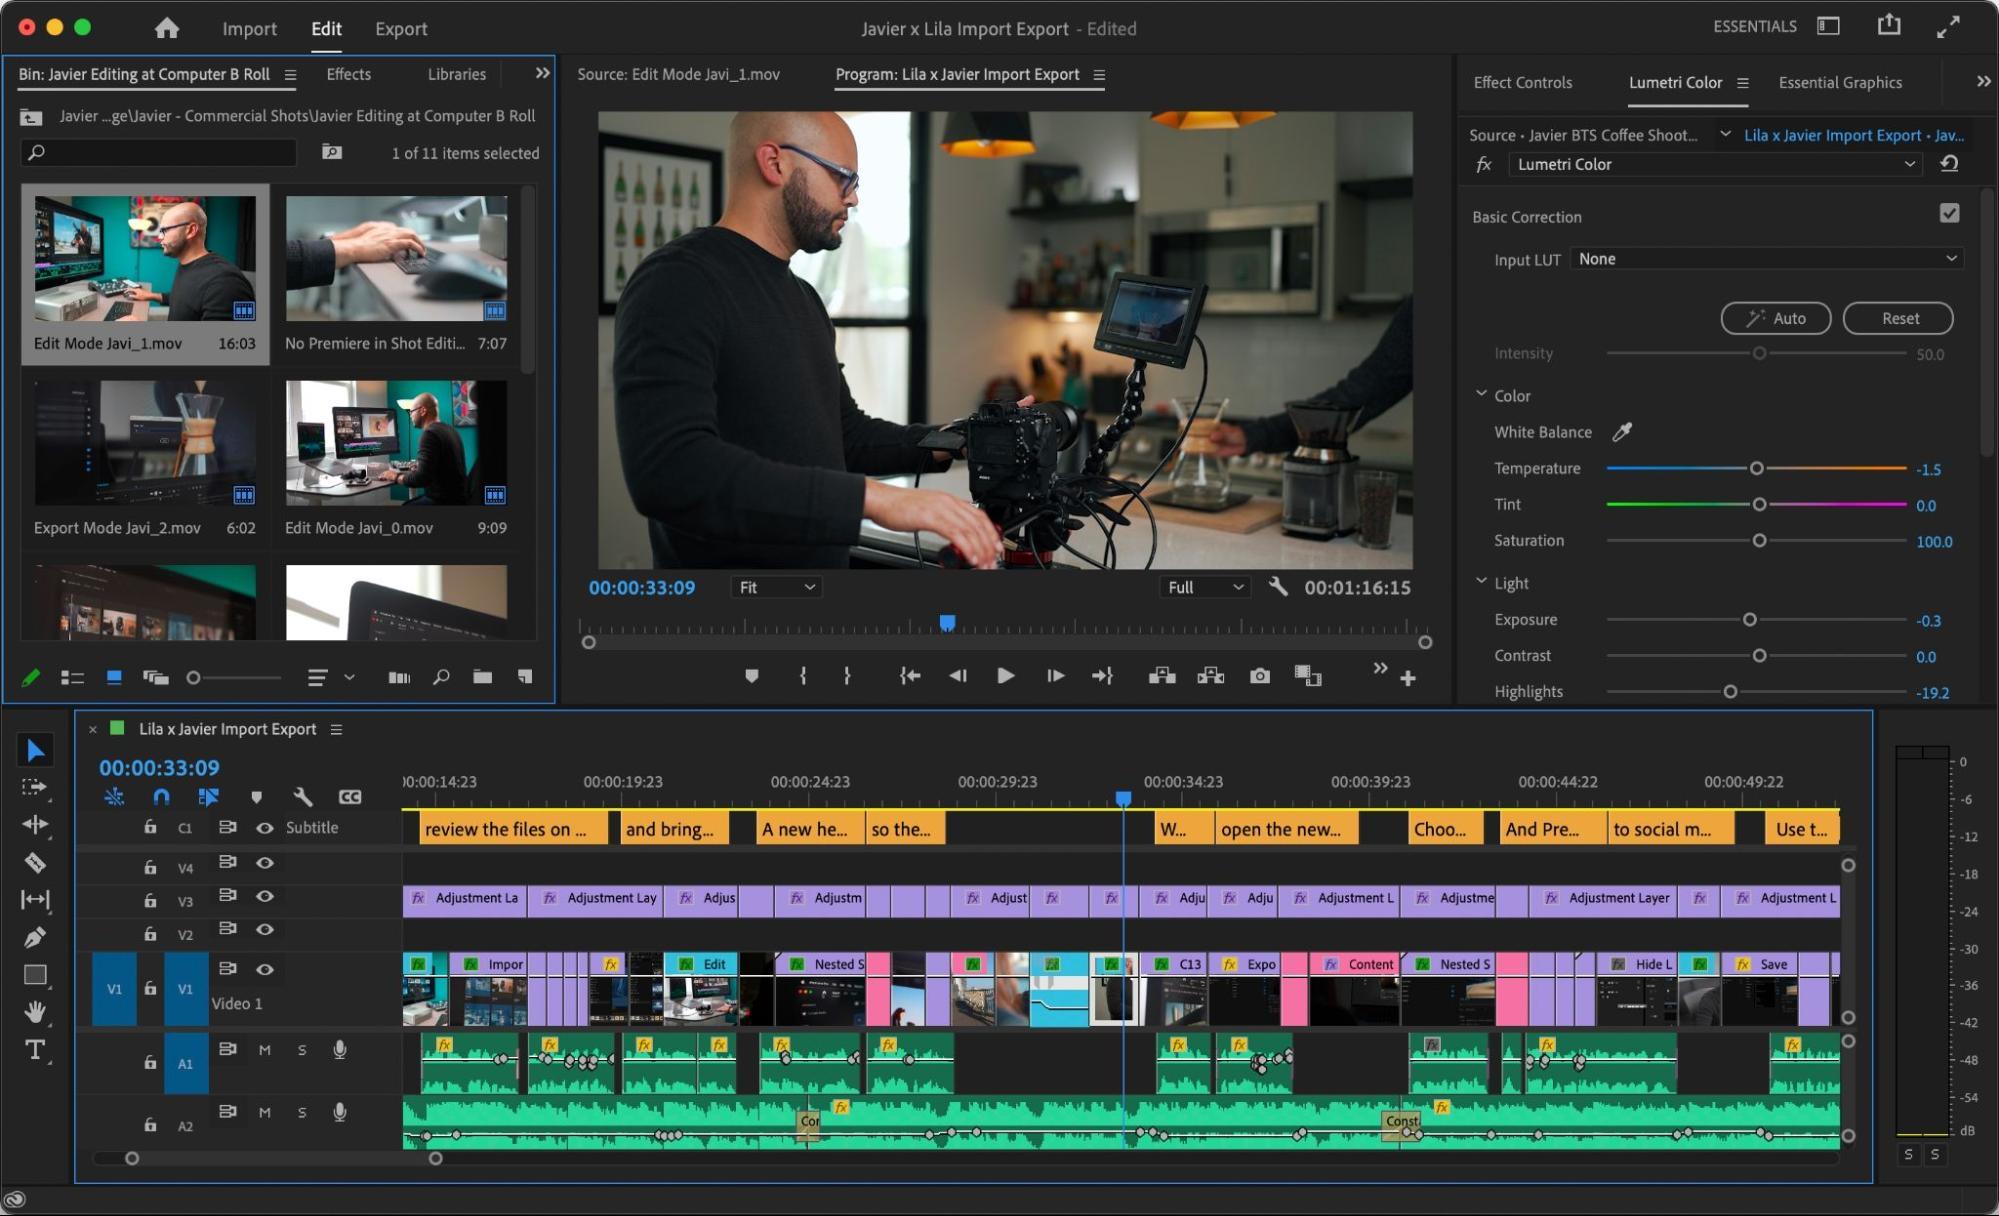
When it comes to editing your YouTube videos, having the right tools at your fingertips can make all the difference. Imagine your editing software as your creative playground. You can craft your story, add flair, and even sprinkle in some surprises! Here are a few must-have tools that can elevate your video projects from ordinary to jaw-dropping:
- Adobe Premiere Pro: A go-to for pros; its flexibility and robust features allow for seamless editing.
- Final Cut Pro: Perfect for Apple users; it’s like having a magic wand that simplifies high-quality edits.
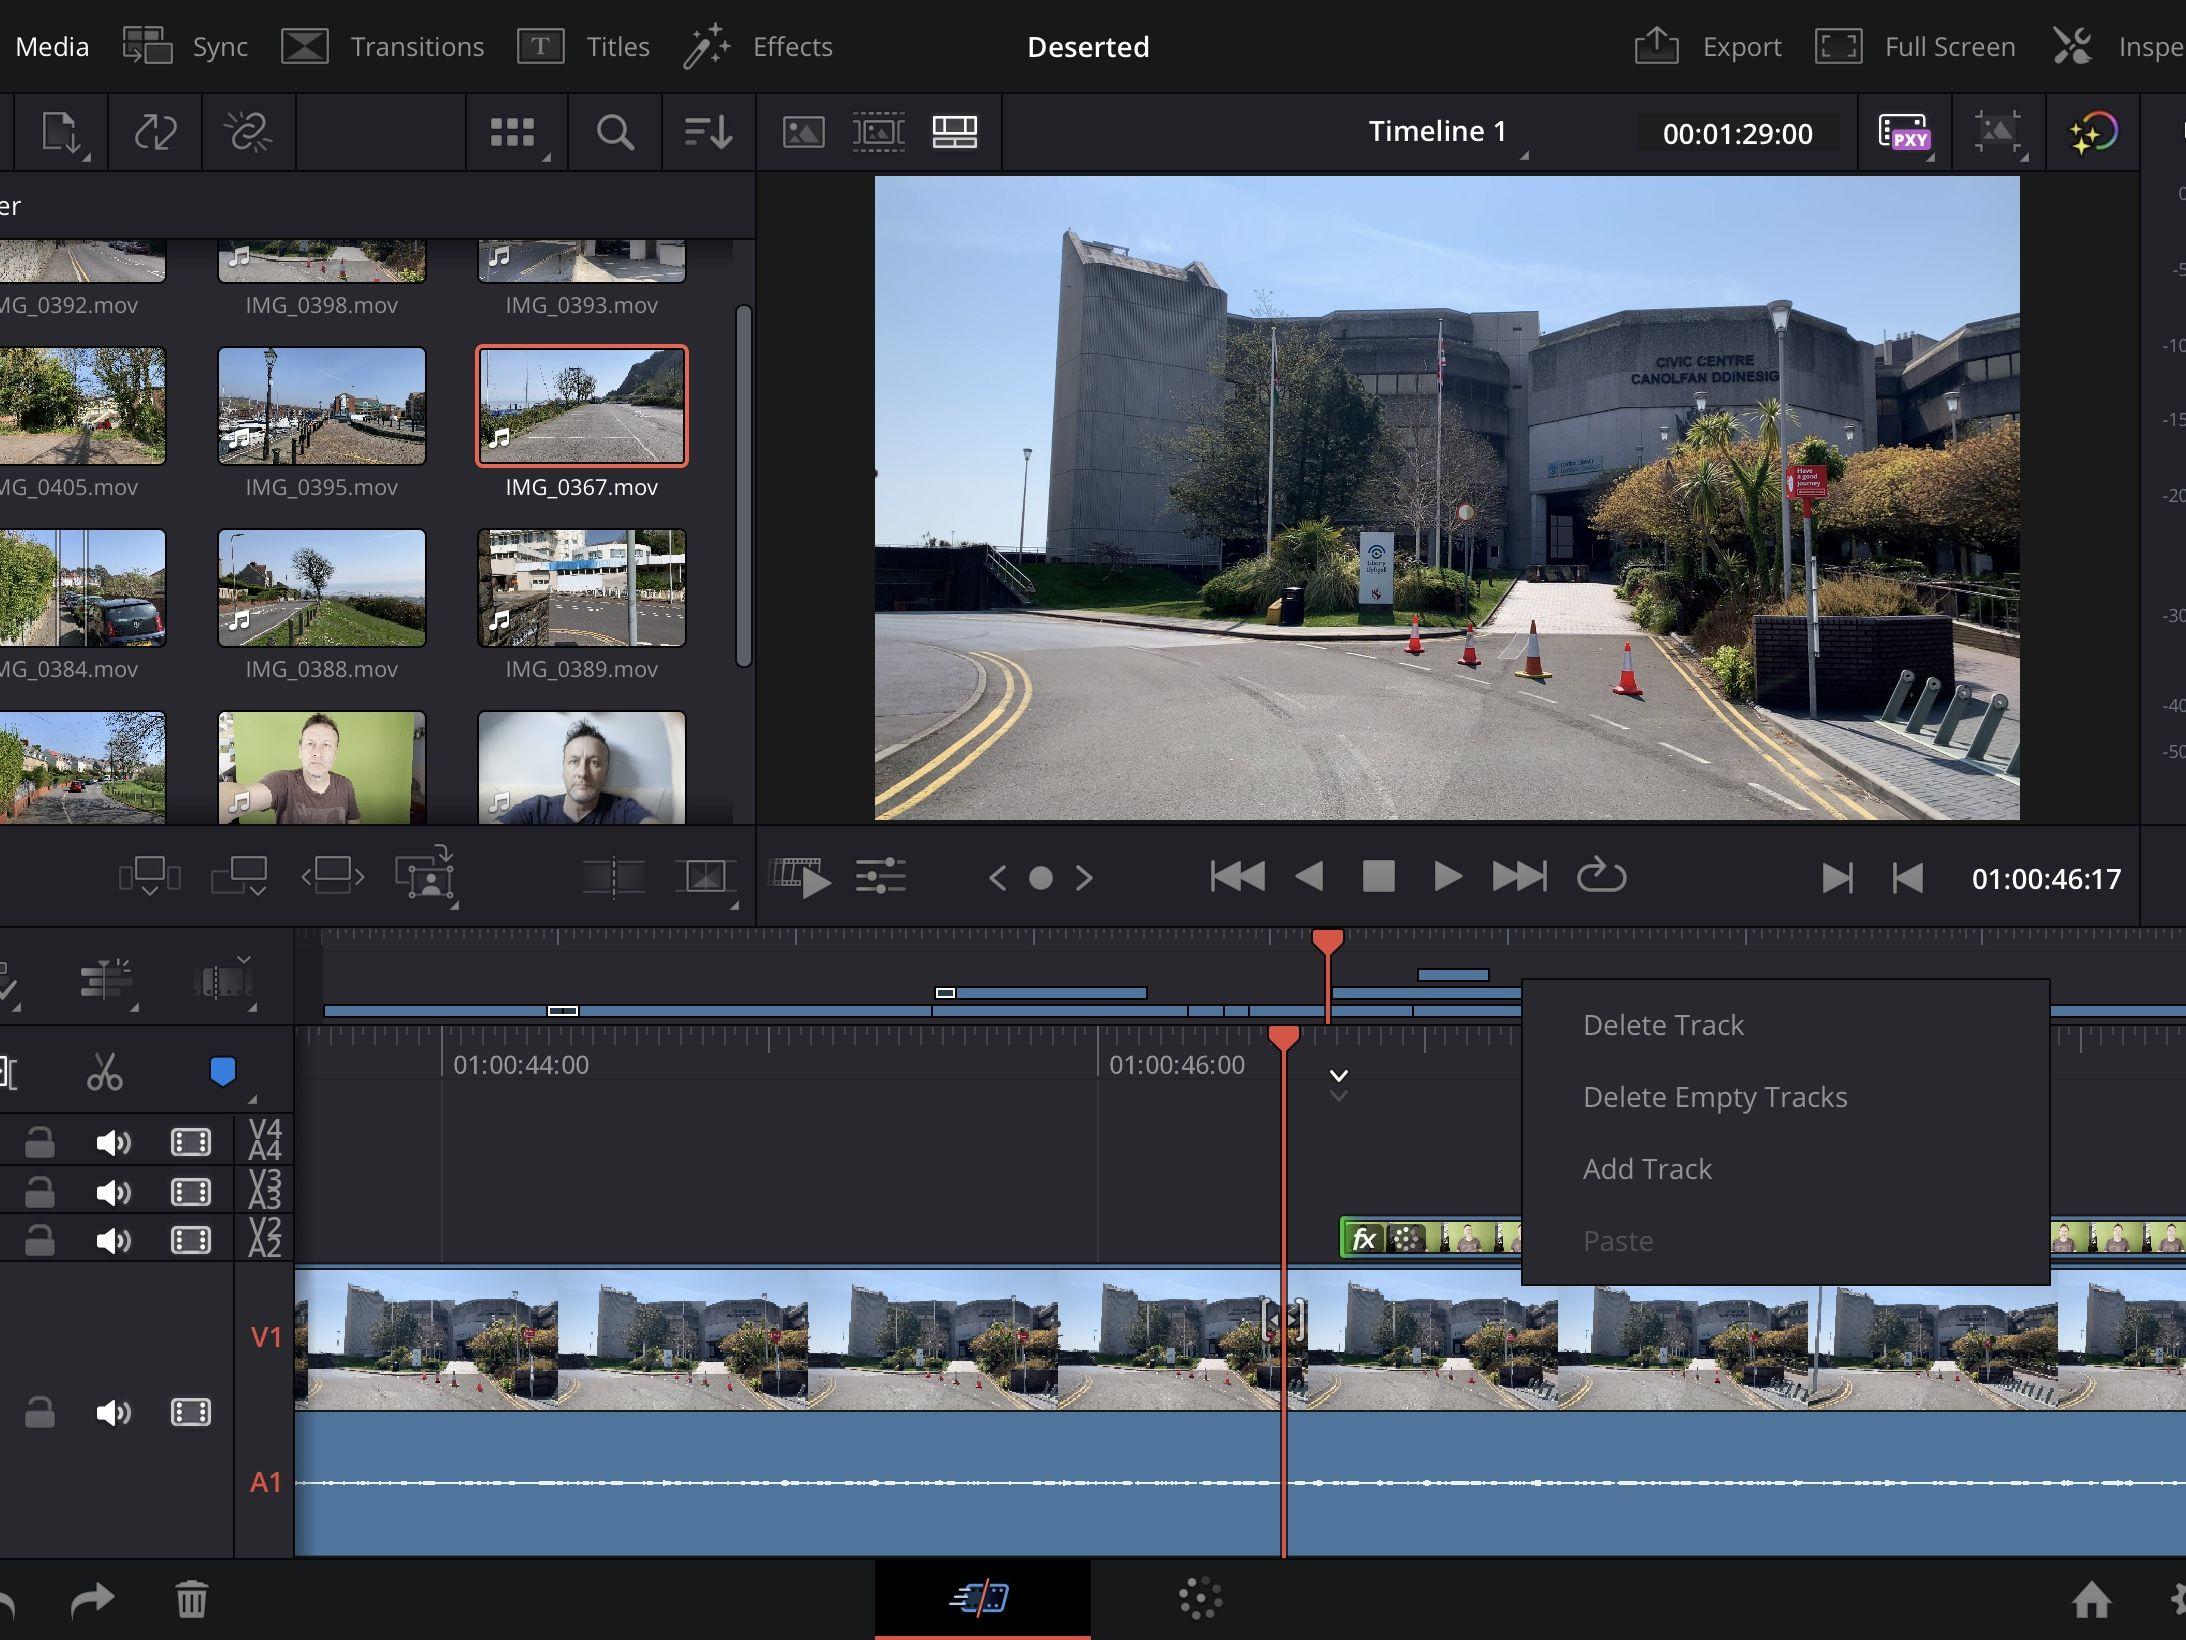
- DaVinci Resolve: Excellent for color correction—think of it as a paintbrush for your visuals!
- Filmora: User-friendly with a bunch of trendy effects; great for beginners diving into video editing.
Alongside these killer tools, don’t underestimate the value of a solid workflow. Utilizing techniques like storyboarding your ideas and organizing clips into folders can save you heaps of time. It’s like prepping ingredients before a big meal; everything flows smoothly and you elevate the taste of your final dish. To give you a better idea of how to structure your editing process, check out this simple yet effective workflow table:
| Stage | Description |
|---|---|
| Planning | Sketch out your video idea and outline key points. |
| Gathering | Collect all video clips, audio, and images you’ll use. |
| Editing | Cut, arrange, and refine your footage using your favorite tools. |
| Reviewing | Watch your video multiple times, tweak as necessary. |
| Exporting | Render your final video and get ready to share! |
Polishing Your Masterpiece: Tips for Smooth Transitions and Effects

Creating seamless transitions is like adding the perfect spice to your dish; it elevates the whole experience. To achieve those smooth transitions in your videos, start by experimenting with different effects. Here are some techniques that can make your editing feel as natural as a conversation with a friend:
- Crossfade: Blend clips together to keep the flow going.
- Jump Cuts: Remove pauses or mistakes to tighten your narrative.
- Match Cuts: Cut from one scene to another with similar action or composition.
- Fade In/Out: Gradually introduce or end your scenes for dramatic flair.
Now, let’s talk about effects—it’s like giving your video that extra sparkle. Don’t go overboard, though! Less is often more. Consider these simple yet effective effects:
| Effect | Description |
|---|---|
| Slow Motion | Highlight key moments by slowing down the action. |
| Speed Ramp | Vary the speed within a clip to add excitement. |
| Filters | Use color grading to set the mood of your video. |
| Text Animations | Draw attention to important points with animated titles. |
Boosting Engagement: Secrets to Captivating Thumbnails and Titles

Want to catch your audience’s eye right from the start? Your thumbnails and titles are like the shiny wrapper on a candy bar—if it doesn’t look good, good luck getting people to bite! Think about using bright colors, engaging images, and bold fonts that pop. Here are some tips to craft that irresistible thumbnail:
- Use high-quality images: A crisp, clear image speaks volumes.
- Incorporate text: A few words summarizing your video can do wonders.
- Be consistent: Stick to a color palette and font style that reflects your brand.
Now, don’t underestimate the power of your titles! Titles are your first impression; they need to be intriguing yet informative. A great title hooks viewers like a fishing lure. Try to keep it short, and infuse a bit of curiosity. Using keywords naturally can help grab attention and improve searchability. Here’s how to create attention-grabbing titles:
- Pose a question: “Have you ever wondered…?” invites curiosity.
- Include numbers: Titles like ”5 Tips for…” tend to perform well.
- Create urgency: Phrases like ”Don’t miss out!” can prompt immediate clicks.
Key Takeaways
And there you have it—your no-nonsense, easy-peasy guide to mastering the art of YouTube video editing! You’re now armed with the knowledge to transform your raw footage into captivating content that keeps viewers glued to their screens. Remember, every pro was once an amateur who didn’t quit, so don’t worry if you stumble a bit at first.
Keep experimenting, have a bit of fun with your edits, and don’t forget to let your personality shine through! Whether you’re splicing clips, adding some snazzy transitions, or fine-tuning that audio to perfection, each step is a chance to make your mark on the YouTube universe.
So, what are you waiting for? Dive into those editing tools, and let your creativity flow like a river of ideas! Your next viral video could be just a few clicks away. Happy editing, and don’t forget to share your progress—who knows, you could inspire the next wave of YouTube creators!

