Hey there, fellow car enthusiasts! So, your Honda Accord is starting to overheat, or maybe you’ve noticed that the fan’s gone silent as a library on a Tuesday morning. Don’t sweat it! Replacing the fan in your trusty Accord might sound intimidating, but it’s actually a do-it-yourself (DIY) task that many hands-on folks tackle with ease. Think of it as a rite of passage in car ownership – a way to connect with your ride while saving some serious cash. In this step-by-step guide, we’ll break down the process into bite-sized pieces, making it as straightforward as pie. Soon enough, you’ll be cruising down the highway, cool as a cucumber, with a fan that purrs like a kitten. So, grab your toolbox, roll up your sleeves, and let’s dive into the nuts and bolts of keeping your Honda running like a dream!
Understanding the Role of Your Honda Accord Fan and Why Its Important
When you think about what keeps your Honda Accord running smoothly, the fan might not be the first thing that pops into your mind—but it definitely should be! This unsung hero of your engine’s cooling system plays a crucial role in regulating your vehicle’s temperature. By drawing air through the radiator, the fan helps disperse the heat generated by the engine, ensuring that everything stays cool under the hood. If your fan isn’t functioning properly, you might notice your temperature gauge creeping up, which could lead to serious engine issues down the line. It’s like a loyal buddy who always has your back at a summer barbecue; without it, things could quickly spiral out of control.
Understanding how your Honda Accord’s fan works is key to recognizing symptoms of potential problems. Common issues include strange noises when the fan operates, the fan running continuously, or even it failing to turn on altogether. Here are a few indicators that your fan needs a little TLC:
- Overheating engine
- Frequent coolant leaks
- Low air circulation while driving
- Warnings on your dashboard
A little knowledge can go a long way in preventing more significant problems and ensuring a smooth ride. So, before you head out on the road, take a moment to appreciate that humble fan and its vital role in keeping your Honda Accord in top shape!
Gathering Tools and Materials for a Smooth Fan Replacement Experience
Before diving into the nitty-gritty of replacing your Honda Accord’s fan, it’s essential to gather all the necessary tools and materials. Think of this step as packing your backpack for a hiking trip—one missing item can make the journey a real headache. Here’s a quick checklist to ensure you have everything on hand:
- Socket wrench set – You’ll need various sizes to fit different bolts.
- Flathead and Phillips screwdrivers – These are your trusty sidekicks for unscrewing parts.
- Pliers – Handy for gripping and pulling things apart.
- Torque wrench – To make sure you’re tightening bolts to the right specs.
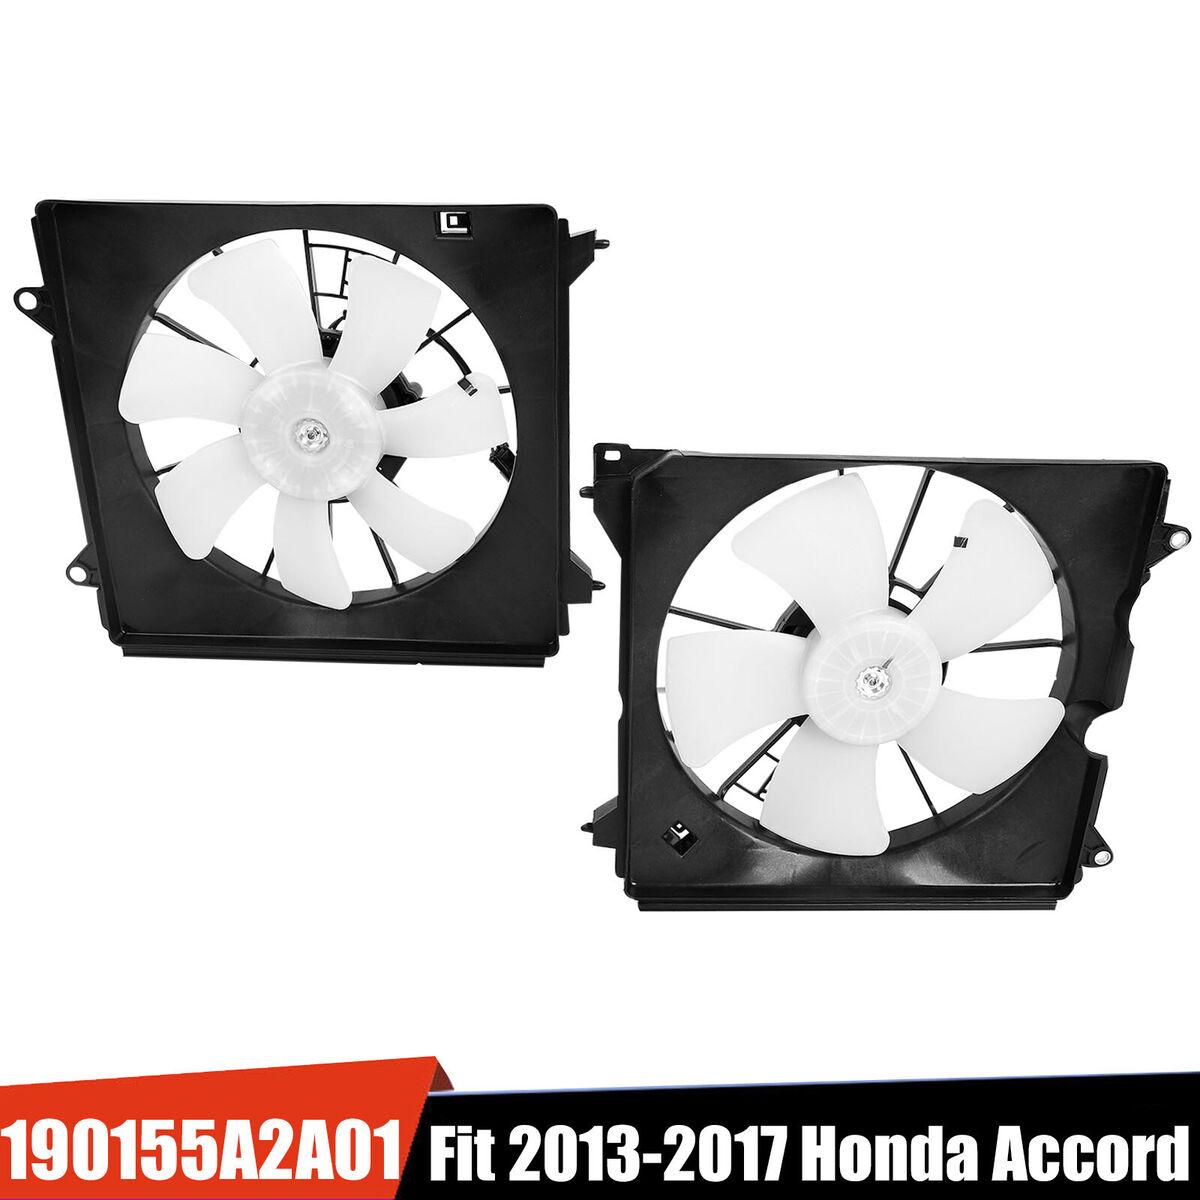
- New fan module – Obviously, you can’t replace the old fan with the old fan!
- Safety glasses – Protect those peepers while you work!
- Shop towels – For any spills or messes that might occur.
Make sure you have a clean and accessible workspace. You don’t want to be rummaging through clutter while trying to focus on the nuts and bolts of your project. A workbench or a garage floor is ideal—just somewhere you can spread out and see everything clearly. If you’re feeling extra organized, consider laying out your tools and materials on a mat or towel, sort of like setting a stage for a performance! It’ll keep things straightforward and hassle-free.
Step-by-Step Instructions for Safely Removing the Old Fan
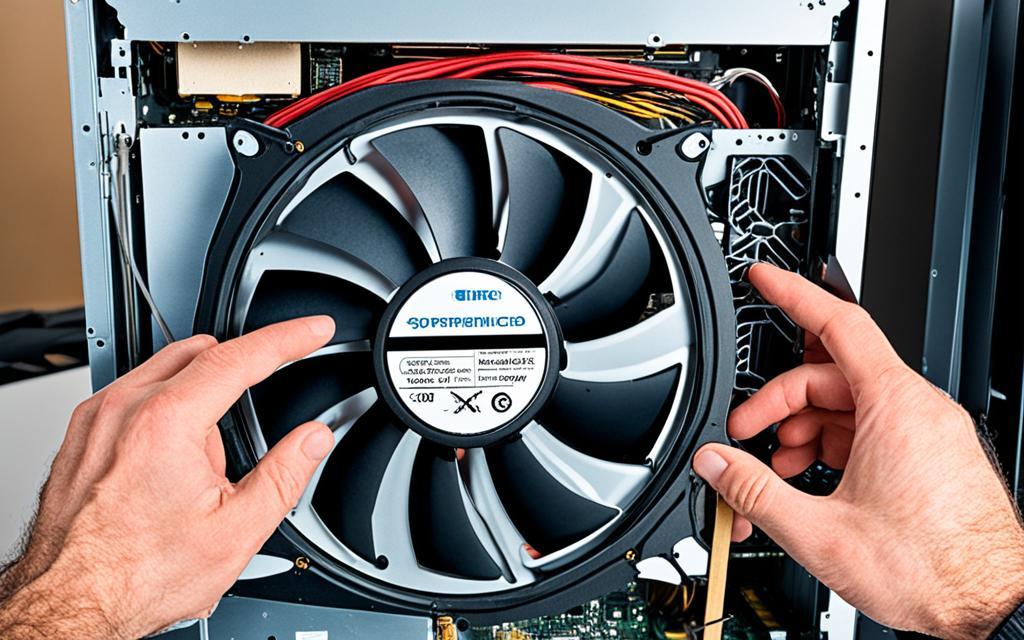
First things first, safety is key! Before you dive into this task, make sure the engine is completely cool. You don’t want any surprises from a hot engine! Next, disconnect the battery by taking off the negative (+) cable – it’s always a good idea to start there to avoid any accidental shorts. Once that’s done, use your trusty socket wrench to start removing the bolts that hold the fan in place. Keep a bowl nearby to collect those screws; trust me, they’re like socks in the dryer – they have a way of disappearing. Carefully pull the fan assembly out of the engine bay, but be gentle – you don’t want to knock anything loose. It’s like extracting a tooth; you need to be methodical.
Now that you’ve got the fan out, it’s time to check the wiring harness. Gently disconnect the fan connector by pulling on the tab; it’s usually snug but shouldn’t require much effort. If it feels stuck, inspect for any clips you might’ve missed, because those little guys can be troublemakers! Also, take a moment to look at the old fan and see if there’s any debris lodged in it. Clean the area around where the new fan will go, because who wants to install a shiny new fan in a dusty old home? Once everything’s clear, you’re ready to install your new fan with the same care you took during removal. It’s all about that precision, just like putting together a puzzle—everything should fit just right!
Installing the New Fan: Tips for Ensuring a Perfect Fit and Function
Installing your new fan doesn’t have to feel like solving a Rubik’s cube! To ensure a snug fit, start by clearing any debris and dust in the fan assembly area. This step is sometimes overlooked but can be crucial for optimal performance. When you align the fan with the mounting bracket, take extra care to position it correctly—there should be no gaps or misalignments. Use the provided screws and torque them to the manufacturer’s specifications; you don’t want to follow a loose fan around the neighborhood! And hey, always consider wearing gloves; nobody enjoys those unexpected cuts from sharp edges.
Before you pop in your new fan, take a moment to compare the old and new models. Ensure that they match in size, shape, and connection types. A mismatched connector can turn your renovation dream into an epic fail! Also, don’t forget to check the wiring. If the new fan has different colored wires than what you’re used to, refer to the user manual—it’ll save you the headache of guessing and possibly burning out your new investment. after everything is securely in place, give the fan a gentle spin by hand; it should move freely without any resistance, like a warm breeze on a summer day!
Insights and Conclusions
And there you have it! You’re now equipped with a step-by-step guide to replacing your Honda Accord’s fan. Who knew car maintenance could be so straightforward, right? Just imagine the sense of accomplishment you’ll feel once you’ve tackled this project yourself—not to mention saving a pretty penny on labor costs!
As you venture into this DIY territory, remember that patience is key. Take your time, double-check your work, and don’t hesitate to grab a friend for extra hands (or just good company!). Whether you’re a seasoned DIYer or this is your first foray into car repairs, you’re adding valuable skills to your toolkit that will serve you well in the long run.
So, roll up those sleeves, gather your tools, and get to work. Your Honda Accord will thank you, and you just might earn a few bragging rights along the way. Happy wrenching, and may your new fan spin like a dream! If you run into any questions or need a little extra advice, don’t hesitate to reach out or dive into an online forum—there’s a whole community out there ready to help. Drive safe and keep that engine cool!
