Are you ready to give your car a little facelift and boost its functionality? If you’re nodding your head, then you’re in the right place! Today, we’re diving into a practical how-to that’s all about installing the Dorman 924-091 Panel. Whether you’re an experienced DIY enthusiast or someone who’s just starting to dip your toes into the world of car repair, this guide will walk you through every step of the process—no PhD in automotive engineering required!
Imagine transforming your vehicle with a cool, modern panel that not only enhances its appearance but also improves your driving experience. Sounds like a win-win, right? So buckle up, grab your tools, and let’s embark on this straightforward journey together. With our friendly, easy-to-follow tips, you’ll have that panel installed and ready to roll in no time. Are you excited? Let’s get started!
Understanding Your Dorman 924-091 Panel: What Makes It a Great Choice
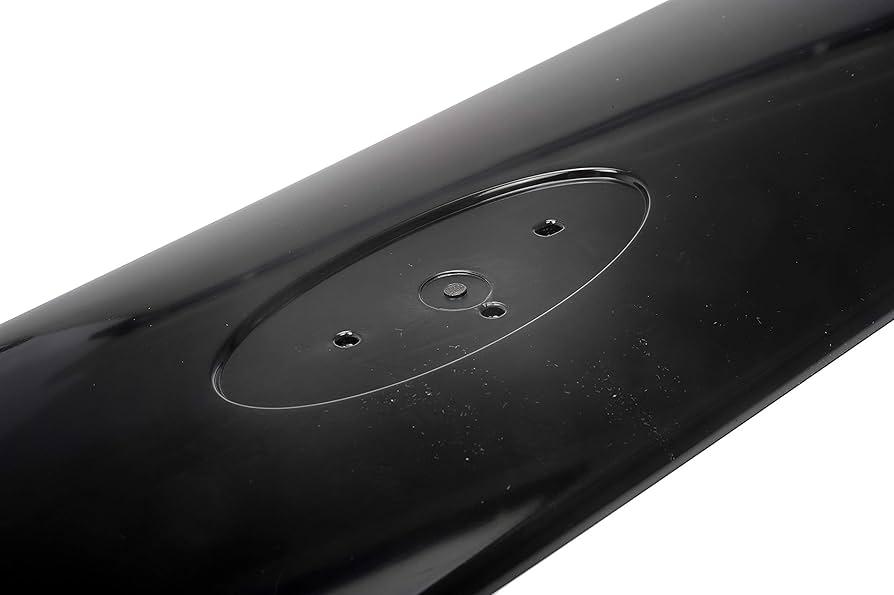
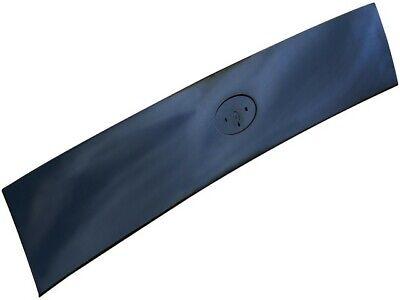
When it comes to quality and reliability, the Dorman 924-091 panel really stands out in the crowd. This panel isn’t just a piece of plastic; it’s carefully crafted to provide a flawless fit and finish for your vehicle. Whether you’re replacing a damaged part or giving your ride a little upgrade, this panel brings a couple of significant advantages to the table. For starters, it’s designed to match OEM specifications, meaning it’ll look as good as the original—if not better! Plus, the materials used are robust and durable, ensuring that it can withstand the test of time and the rigors of daily driving.
One of the coolest features of the Dorman 924-091 is its user-friendly installation process. It’s like having a puzzle that’s designed to fit perfectly without any awkward adjustments! You’ll appreciate how lightweight it is, making it a breeze to handle during installation. Also, consider these perks:
- Cost-Effective: Offers great quality at a reasonable price.
- Improved Aesthetics: Enhances the overall look of your vehicle.
- Direct Fit: No modifications needed—just pop it in!
With all these benefits bundled into one perfect package, it’s hard to argue why the Dorman 924-091 should be your go-to choice when sprucing up your ride.
Gathering Your Tools and Materials: Be Prepared for Success
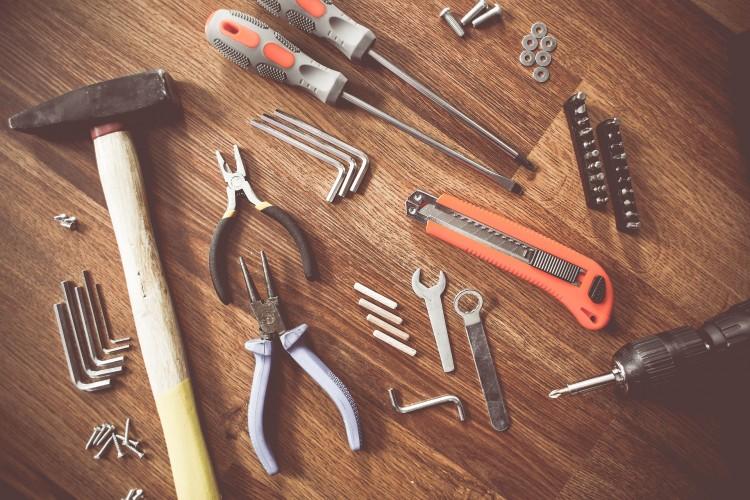
Before diving into the installation of your Dorman 924-091 panel, it’s essential to have all your tools and materials at the ready. Think of it as getting your gear in order before a big adventure; you want to ensure nothing interrupts your flow mid-project. Here’s a quick rundown of what you’ll need:
- Screwdriver Set – Both flathead and Phillips head.
- Socket Wrench – The right size is key; usually, 10mm will do the trick!
- Trim Removal Tool – A lifesaver when it comes to prying off those stubborn panels.
- Safety Glasses – Protect those eyes while you work!
- Flashlight – For those hard-to-see spots.
Now that you have your toolkit ready, don’t forget to gather the materials required for the installation. This is where having everything in one place pays off, saving you from the hassle of jumbling around the garage. You’ll need the Dorman 924-091 panel itself, of course, along with any clips or screws that may accompany it. Check out the table below for a quick glance at the necessary materials:
| Material | Purpose |
|---|---|
| Dorman 924-091 Panel | Replacement panel |
| Mounting Clips | Secure the panel in place |
| Adhesive or Sealant | For added strength and stability |
Installing the Panel with Confidence: A Walkthrough of Each Step
Installing your Dorman 924-091 panel might feel a bit daunting at first, but don’t worry! We’re going to break it down step by step, making it as easy as pie. First things first, gather all your supplies. You’ll need the panel itself, a flathead screwdriver, a Phillips screwdriver, and maybe even a small flashlight if you’re working in a darker space. Below are key steps you want to keep in mind:
- Safety First: Disconnect your vehicle’s battery to avoid any electrical mishaps.
- Remove the Old Panel: Using your screwdrivers, carefully detach the mounting screws holding the old panel in place. Remember to keep those screws safe for later!
- Prep the New Panel: Before installation, inspect the new panel to ensure it matches your vehicle’s specifications.
Now you’re on to the fun part! Position the new Dorman panel where it needs to go. You may need to wiggle it a bit to fit it snugly into place—think of it like fitting a puzzle piece. Once it’s set, reattach the screws you saved earlier and double-check everything is tight and secure. Want to make life even easier? Here’s a streamlined overview:
| Step | Action |
|---|---|
| 1 | Disconnect Battery |
| 2 | Remove Old Panel |
| 3 | Inspect and Prep New Panel |
| 4 | Install New Panel |
| 5 | Reconnect Battery |
Finishing Touches and Tips: Ensuring a Perfect Fit and Functionality

Now that you have the Dorman 924-091 panel securely installed, it’s time for some final touches to ensure everything looks sharp and operates flawlessly. It’s like adding that last sprinkle of seasoning to a great dish—essential to achieve perfection! First, double-check all fasteners and screws. Give them a gentle but firm twist with your screwdriver. Remember, tight doesn’t mean overly tight; you don’t want to strip any screws. Also, don’t forget to test the panel functionalities. Does everything work as it should? Make sure that each button and feature responds smoothly. If something feels off, that’s your cue to troubleshoot further—nobody wants a half-baked project on their hands!
Next, consider some minor aesthetic details that can elevate your installation from good to great. Clean the surrounding area where the panel sits to remove dust or debris that might have settled during the installation. A clean workspace? That’s always a win! Use a damp cloth and a little mild cleaner, then let it dry before you put any finishing touches back in place. Pro tip: if your panel has a trim or molding, check its alignment and snugness. Any gaps can lead to vibrations or rattles down the road. Ensure everything appears polished and seamless; it’s all in the small things that make your work shine!
Wrapping Up
And there you have it! You’ve just walked through the step-by-step process of installing your Dorman 924-091 panel like a pro. It might feel like a hefty task at first, but with the right approach and a little patience (maybe even a cup of coffee by your side), you tackled it head-on. Doesn’t it feel great when you can add a personal touch to your ride? Plus, knowing you’ve saved some cash on labor feels pretty sweet, right?
Remember, every little step counts—just like putting together a puzzle. If you hit a snag along the way, don’t sweat it! Many car enthusiasts have been in your shoes, and there are plenty of resources and communities out there ready to lend a hand.
So, whether you’re whipping up a quick fix or diving into a full-on restoration project, keep that DIY spirit alive! Get out there, admire your handiwork, and show off your newly installed panel. Until next time, happy driving and happy DIY-ing! 🚗✨