In a world where first impressions count, your YouTube thumbnail is like the shiny storefront window beckoning viewers inside. You want it to pop, catch the eye, and scream “click me!” But there’s a balancing act at play: making sure your vibrant images don’t take forever to load, which can turn potential viewers away faster than a bad review. Enter PNG compression—a game-changer that helps keep that visual allure while ensuring swift delivery. Let’s dive into the art and science of mastering PNG compression, so you can create stunning thumbnails without the dreaded lag. Who says you can’t have beauty and speed in the same frame? Ready to amp up your YouTube game? Let’s get started!
Unlocking the Secrets of PNG Compression for Eye-Catching Thumbnails
When it comes to crafting those show-stealing YouTube thumbnails, figuring out the right balance between quality and file size is crucial. PNG compression can seem like a labyrinth, but once you get the hang of it, it’s like riding a bike—once you learn, you never forget! Start by choosing the right tools, as they can make all the difference. Options like TinyPNG or ImageOptim allow you to reduce file size without sacrificing visual quality. Remember, less is often more; you want your thumbnail to pop, not take an eternity to load!
To truly understand how compression works, think of it as packing your suitcase for a vacation. You need to fit all your essentials without overstuffing. Here are some tips:
- Limit Your Color Palette: The fewer colors you use, the smaller the file size!
- Avoid Transparency: Unless necessary, removing transparency can help reduce size.
- Resize Dimensions: Each pixel counts; ensure your thumbnail isn’t larger than needed.
| Quality Level | Typical File Size | Best Use |
|---|---|---|
| High Quality | 100-200 KB | Detail-rich thumbnails |
| Medium Quality | 50-100 KB | General thumbnails |
| Compressed Quality | 10-50 KB | Text-heavy or minimalist designs |
Choosing the Right Tools for Effortless PNG Compression
Finding the right tools for PNG compression can feel like searching for a needle in a haystack, but it doesn’t have to be daunting. Imagine you’re crafting a masterpiece for your YouTube thumbnail—you want it to stand out, right? Reliable PNG compression tools can make your images lighter without sacrificing quality. Here are a few powerful options to explore:
- TinyPNG: A popular choice that optimizes images effortlessly while maintaining a great level of detail.
- Adobe Photoshop: If you’re into design, this classic tool not only compresses but also allows for extensive editing.
- ImageOptim: Perfect for Mac users, it’s a quick way to trim the fat off images while leaving the quality intact.
After figuring out which tool suits your needs, it’s essential to pay attention to the settings. Some tools allow you to adjust the level of compression, balancing file size and quality. A practical tip: always compare the before and after images to ensure your thumbnail still shines. Below is a simple comparison of how different compression levels affect your documents:
| Compression Level | File Size (KB) | Quality Rating |
|---|---|---|
| Low | 150 | High |
| Medium | 80 | Medium |
| High | 30 | Lower |
Balancing Quality and File Size: Tips for the Perfect Thumbnail
Finding that sweet spot between quality and file size for your thumbnails can feel a bit like walking a tightrope. You want them to look crisp and vivid to grab your audience’s attention, yet not so bulky that they bog down your loading times. Think of your thumbnail as the first slice of pizza; you want it to look appetizing enough that people can’t resist taking a bite. Aim for 360 x 240 pixels as a starting point, and ensure that your PNG files hover around 200KB or less. This way, you’re keeping them light on bandwidth without sacrificing that mouthwatering visual appeal.
When it comes to compression, tools like TinyPNG or Compressor.io are your best pals. They work wonders without turning your colorful, eye-catching thumbnails into a pixelated mess. Here’s a simple checklist to help you keep your thumbnails in tip-top shape:
- Color Depth: Stick to 8-bit where possible; it saves space!
- Simplify Graphics: Limit complex patterns that can bloat file sizes.
- Export Settings: Use proper settings to maintain sharpness while compressing.
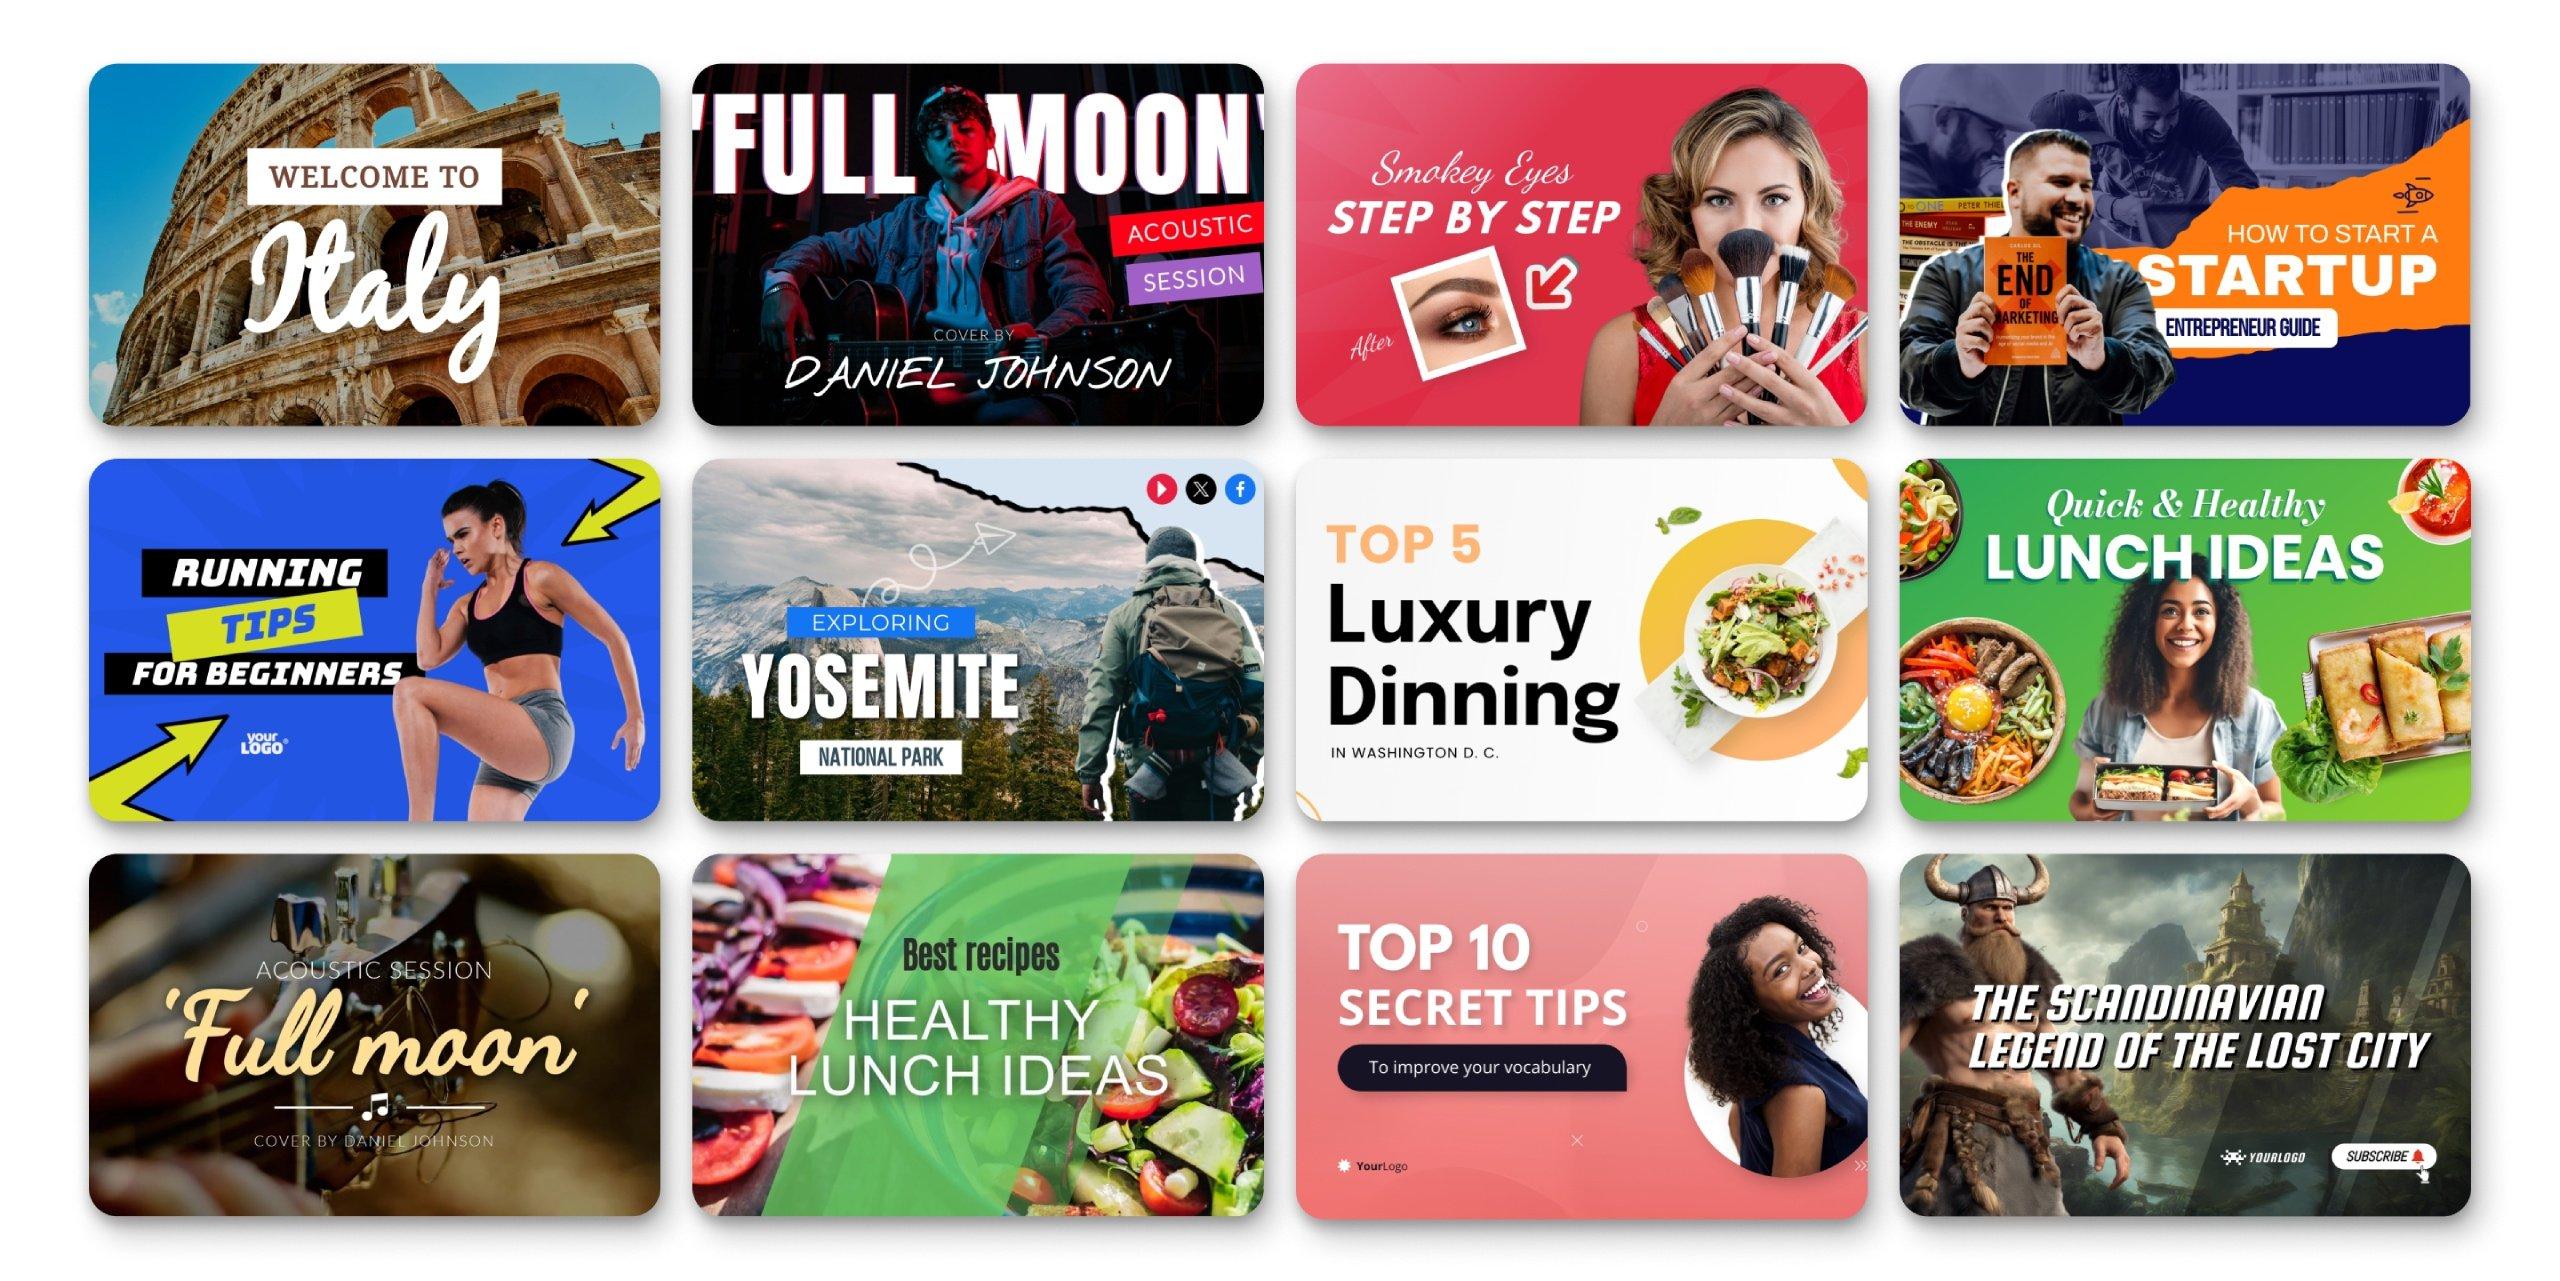
Optimizing Your Thumbnails for Maximum Engagement on YouTube
When it comes to captivating your audience on YouTube, thumbnails are like the window display of a store – they need to grab attention immediately. To really make your thumbnails pop while ensuring they load quickly, mastering PNG compression is key. A well-optimized PNG can maintain stunning image quality without weighing your video down. Consider using tools like TinyPNG or ImageOptim that can shrink your file size significantly without a noticeable loss in quality. This way, your thumbnail will look sharp and vibrant, enticing viewers to click on your content.
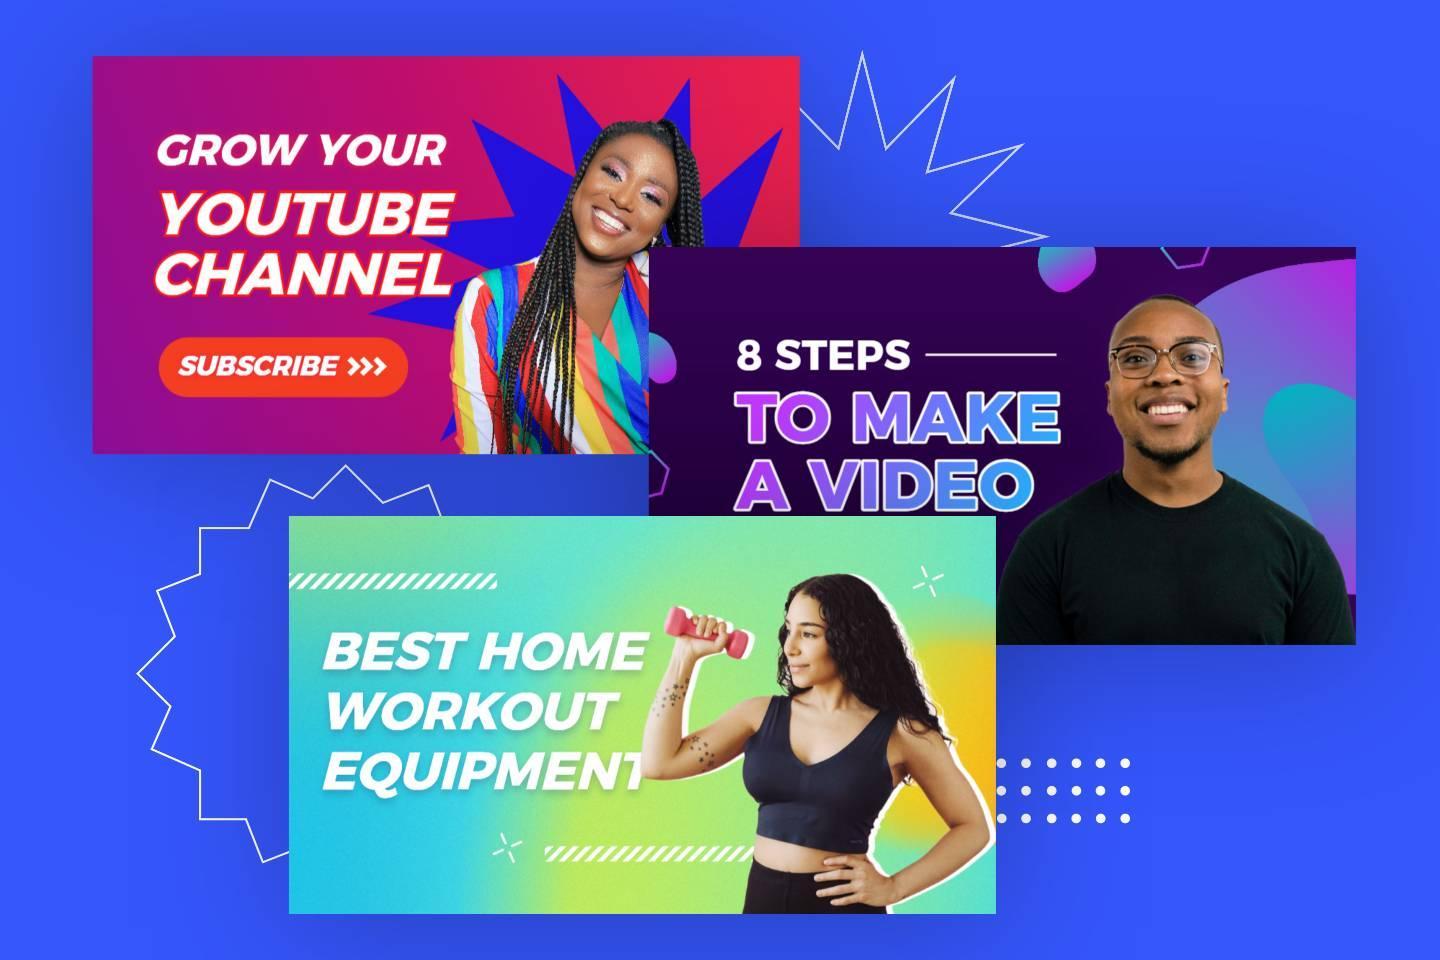
Beyond just compression, aesthetic choices matter too! Think about including elements that resonate with your audience and align with your brand. A few tips for boosting engagement through your thumbnails include:
- Bold Text: Make sure your titles are readable even in small sizes.
- Contrasting Colors: Use colors that stand out against YouTube’s background.
- Faces and Emotions: People are drawn to human expressions; they can connect on a personal level.
To get a clearer picture of your optimization efforts, here’s a simple table that compares thumb sizes before and after compression:
| Thumbnail Aspect | Original Size (KB) | Compressed Size (KB) |
|---|---|---|
| Thumbnail 1 | 200 | 75 |
| Thumbnail 2 | 180 | 70 |
| Thumbnail 3 | 220 | 80 |
By focusing on these aspects, you’ll not only enhance the visual appeal of your thumbnails but also improve your channel’s overall performance. A little effort can go a long way in winning viewers over!
The Way Forward
And there you have it! You’re now equipped with all the essential tools to master PNG compression for those eye-catching YouTube thumbnails. Think of it as putting the finishing touches on a masterpiece—you want it to pop without weighing down your audience’s experience. Just like a perfectly brewed cup of coffee, the right balance can make all the difference, right?
So, the next time you whip up a thumbnail, remember: clarity and quality are your best pals. With the knowledge you’ve gained, you can create visuals that grab attention and invite clicks like moths to a flame. Don’t be afraid to experiment with different compression settings and tools until you find what works best for your unique style.
As you dive into this exciting world of digital creativity, keep those tips in your back pocket, and enjoy the process. After all, every great video starts with a thumbnail that dazzles. Happy creating!