Ever uploaded a YouTube Short and thought, “Wow, why does this look like a sad watercolor painting?” You’re not alone! Lots of creators find themselves frustrated when their videos appear washed out, losing that vibrant pop that grabs viewers’ attention. It’s like whipping up a gourmet dish only for it to come out as a bland mush. So, what gives? Is it your camera? Your lighting? Or maybe some sneaky settings you didn’t even know existed? In this article, we’re diving into the nitty-gritty of why your YouTube Shorts might look less like a masterpiece and more like a faded photo from an old scrapbook. Let’s unravel this mystery together and get your content shining bright!
The Science Behind Color Grading and Video Compression
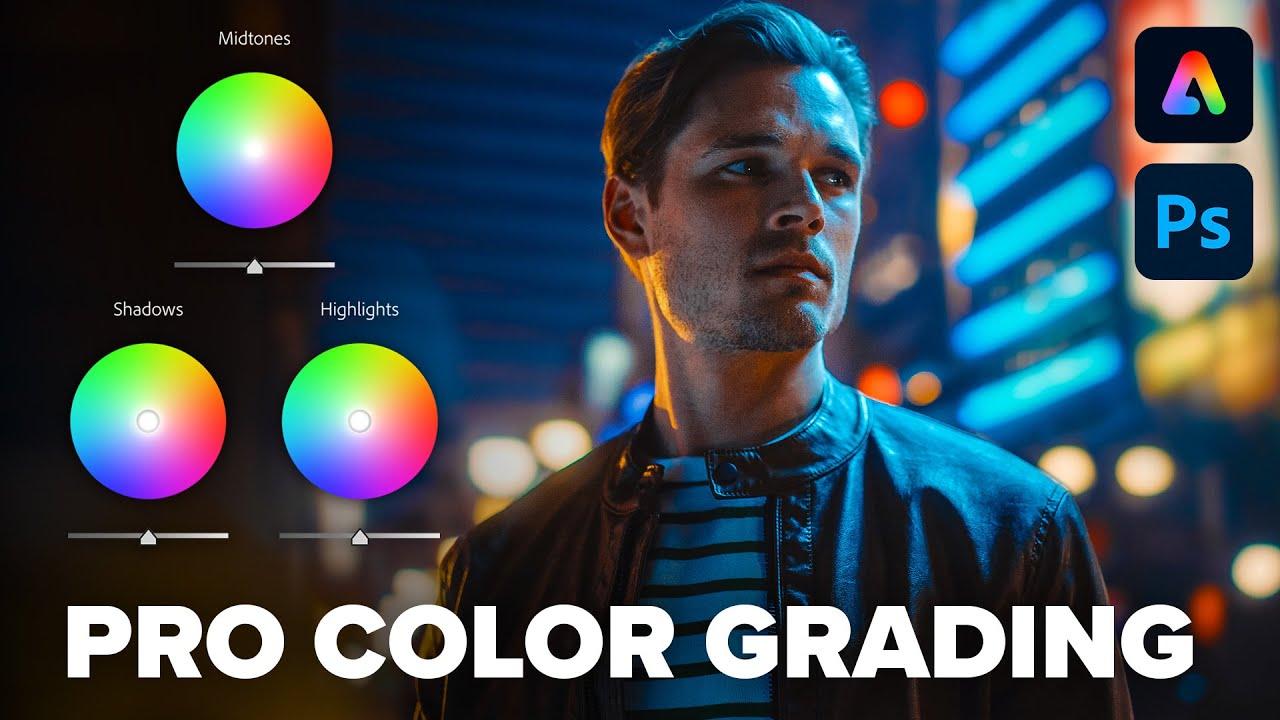
When you’re scrolling through your YouTube Shorts and you notice that everything looks a bit dull, it’s not just your imagination—it often boils down to the intricacies of color grading and video compression. Color grading is like adding a splash of personality to your footage. It’s all about adjusting hues, contrast, and brightness to create a visually striking piece that pops. However, when these videos are compressed for platforms like YouTube, the rich colors and vibrant details can get squished down, leading to that “washed out” effect that leaves your audience feeling more “meh” than “wow.”
Now, let’s talk compression. Think of it as packing your suitcase for a trip; the more you shove in without care, the messier things get. Video compression reduces file size for easier uploading, but this often sacrifices the visual quality in the process. Here are a few factors that impact how your colors translate:
- Bitrate: Lower bitrates can strip away detail, making colors less vibrant.
- Color Space: Using a narrow color space like sRGB can limit your color range.
- Encoding Settings: Poor compression settings can lead to artifacting, which muddles your clean edits.
To better visualize how these elements interplay, check out the table below:
| Aspect | Effect on Video |
|---|---|
| High Bitrate | More detail, vibrant colors |
| Low Bitrate | Loss of detail, washed-out appearance |
| Wide Color Space | Rich and diverse colors |
| Narrow Color Space | Limited color range, dull visuals |
Lighting Issues that Wash Out Your Visuals
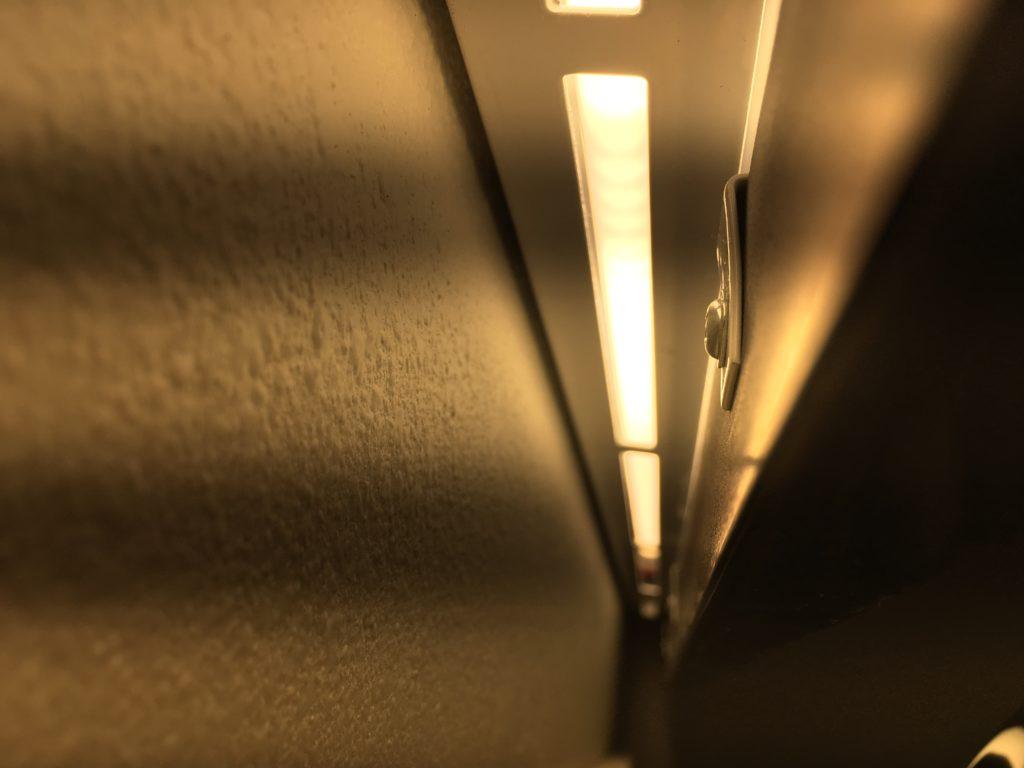
Have you ever hit “upload” on a YouTube Short only to find that it looks like a washed-out postcard from a dull vacation? It’s frustrating! One of the main culprits for this dreary vibe is poor lighting. Imagine trying to capture a sunset but using only a flickering candle for illumination; that’s what bad lighting does to your visuals. If you’re shooting in too much direct sunlight, your footage can become overly bright and lose detail. On the flip side, shooting in low light without the right setup will muddy your colors, making everything look gray and lifeless.
To avoid this pitfall, consider these tips:
- Golden Hour: Take advantage of natural light during sunrises or sunsets for that soft, flattering glow.
- Soft Boxes: These can diffuse harsh lights, giving your videos a professional feel.
- Reflectors: Utilize these to bounce light back onto your subjects for better balance.
Making minor adjustments to your lighting setup can transform your Shorts from drab to fab!
How Editing Tools Can Transform Your YouTube Shorts

Ever wonder why your YouTube Shorts can sometimes appear bland or washed out? It’s often not just the lighting or your filming location. The right editing tools can be game-changers, breathing life into your videos. Imagine you’re painting a picture: without vibrant colors, it’s just a canvas. Editing tools allow you to enhance colors, adjust brightness, and add dynamic effects that can make your shorts pop like they’re fresh out of a cinematic masterpiece. Here are some editing features that can revolutionize your content:
- Color Grading: Adjust the hues and saturation to create mood and intensity.
- Filters and Presets: Quick fixes can change the vibe—think warm, cool, or vintage.
- Text Overlay: Engaging captions or quotes can draw viewers’ attention.
- Speed Control: Slow-motion or fast-forward effects can add drama or humor.
Using these features, you don’t just edit—you transform. It’s like adding spices to a bland dish; it makes all the difference. By experimenting with various editing tools, you’ll discover the perfect balance that enhances your videos without losing their authenticity. Consider creating a simple checklist as a guide:
| Editing Tool | Purpose | Effect |
|---|---|---|
| Color Grading | Enhance colors | Vibrant visuals |
| Text Overlay | Add context | Increased engagement |
| Speed Control | Dynamic storytelling | Captivating moments |
So next time you find your shorts lacking, remember—editing tools are here to help you switch up that dull palette into something that truly stands out!
Best Practices for Capturing Vibrant Footage
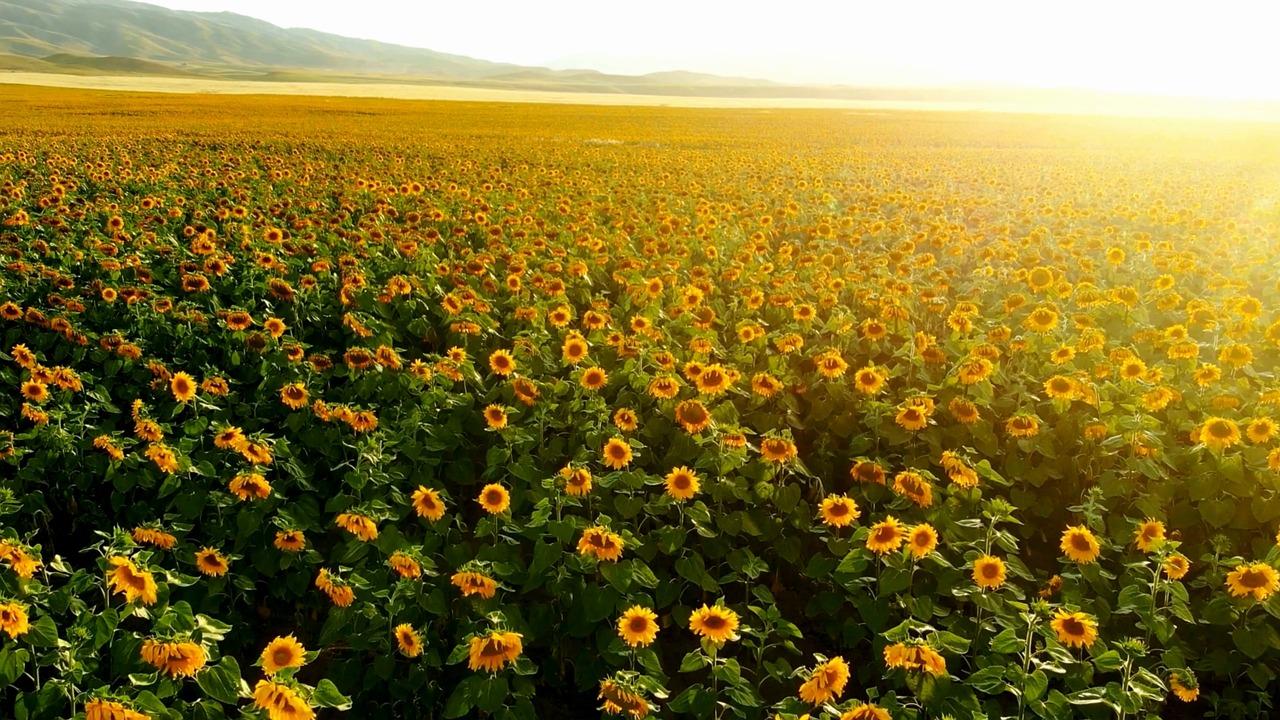
To breathe life into your footage, lighting plays a vital role. Snagging those golden hours—early morning or late afternoon—can transform an ordinary scene into something magical. But it’s not just about timing; consider how you manipulate the light. Experiment with natural light during different times of day, and don’t shy away from using reflectors or diffusers to soften harsh shadows. You’d be amazed at how shooting against a plain, brightly colored backdrop can elevate your visuals. If you’re indoors, try to find a space with ample natural light streaming through windows, or use soft LED lights to mimic that warm glow.
Next up, let’s talk about your camera settings. A camera is like a paintbrush—adjusting the settings will help you create a masterpiece. Play with the ISO, shutter speed, and aperture to capture those vibrant hues. Lowering the ISO reduces noise and helps maintain clarity, while a wider aperture can create a delightful bokeh effect. Don’t forget about stabilization! Shaky footage can rob your shots of vibrancy. Invest in a gimbal or use your phone’s built-in stabilization features to keep everything smooth and steady. This way, you’re not just capturing video; you’re crafting an experience that pops off the screen!
Closing Remarks
So, there you have it! If your YouTube Shorts are looking more washed out than a pair of old jeans, you now know what to check for. From lighting conditions to your camera settings, it’s all about finding that sweet spot. Think of it like cooking; the right ingredients in the right amounts can make all the difference. So, tweak your settings, experiment with lighting, and don’t forget to have fun along the way! Remember, every creator starts somewhere, and a little trial and error can lead to those vibrant videos you’ve been dreaming of. Happy shooting, and may your Shorts always pop with color!