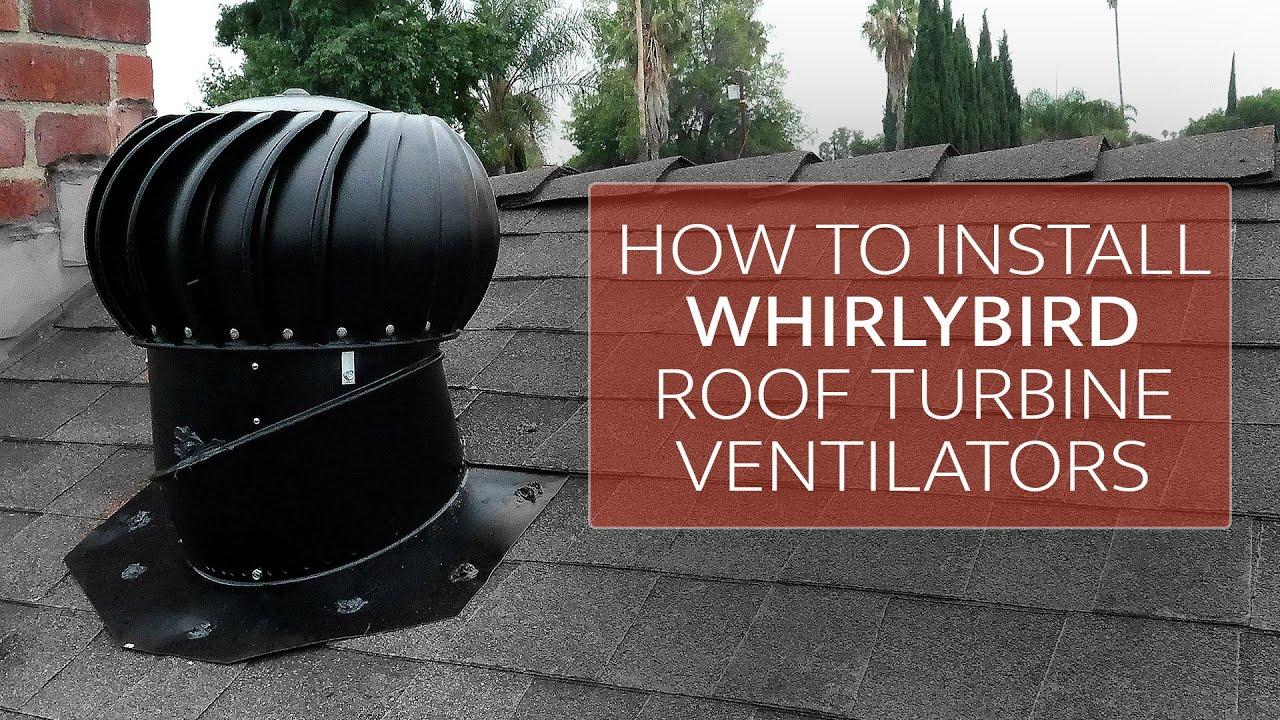
Thinking about leveling up your ventilation game without breaking a sweat? Installing a turbine vent could be just the ticket! Picture this: fresh air circulating through your home, reducing heat buildup and keeping your space cooler during those sweltering summer months. Sounds good, right? And the best part? With the right guidance, it’s a project you can tackle yourself—no need for a pro! Our YouTube guide is here to walk you through each step with ease and a sprinkle of fun. So grab your tools, roll up those sleeves, and let’s dive into the world of effortless turbine vent installation!
Mastering the Basics of Turbine Vent Installation
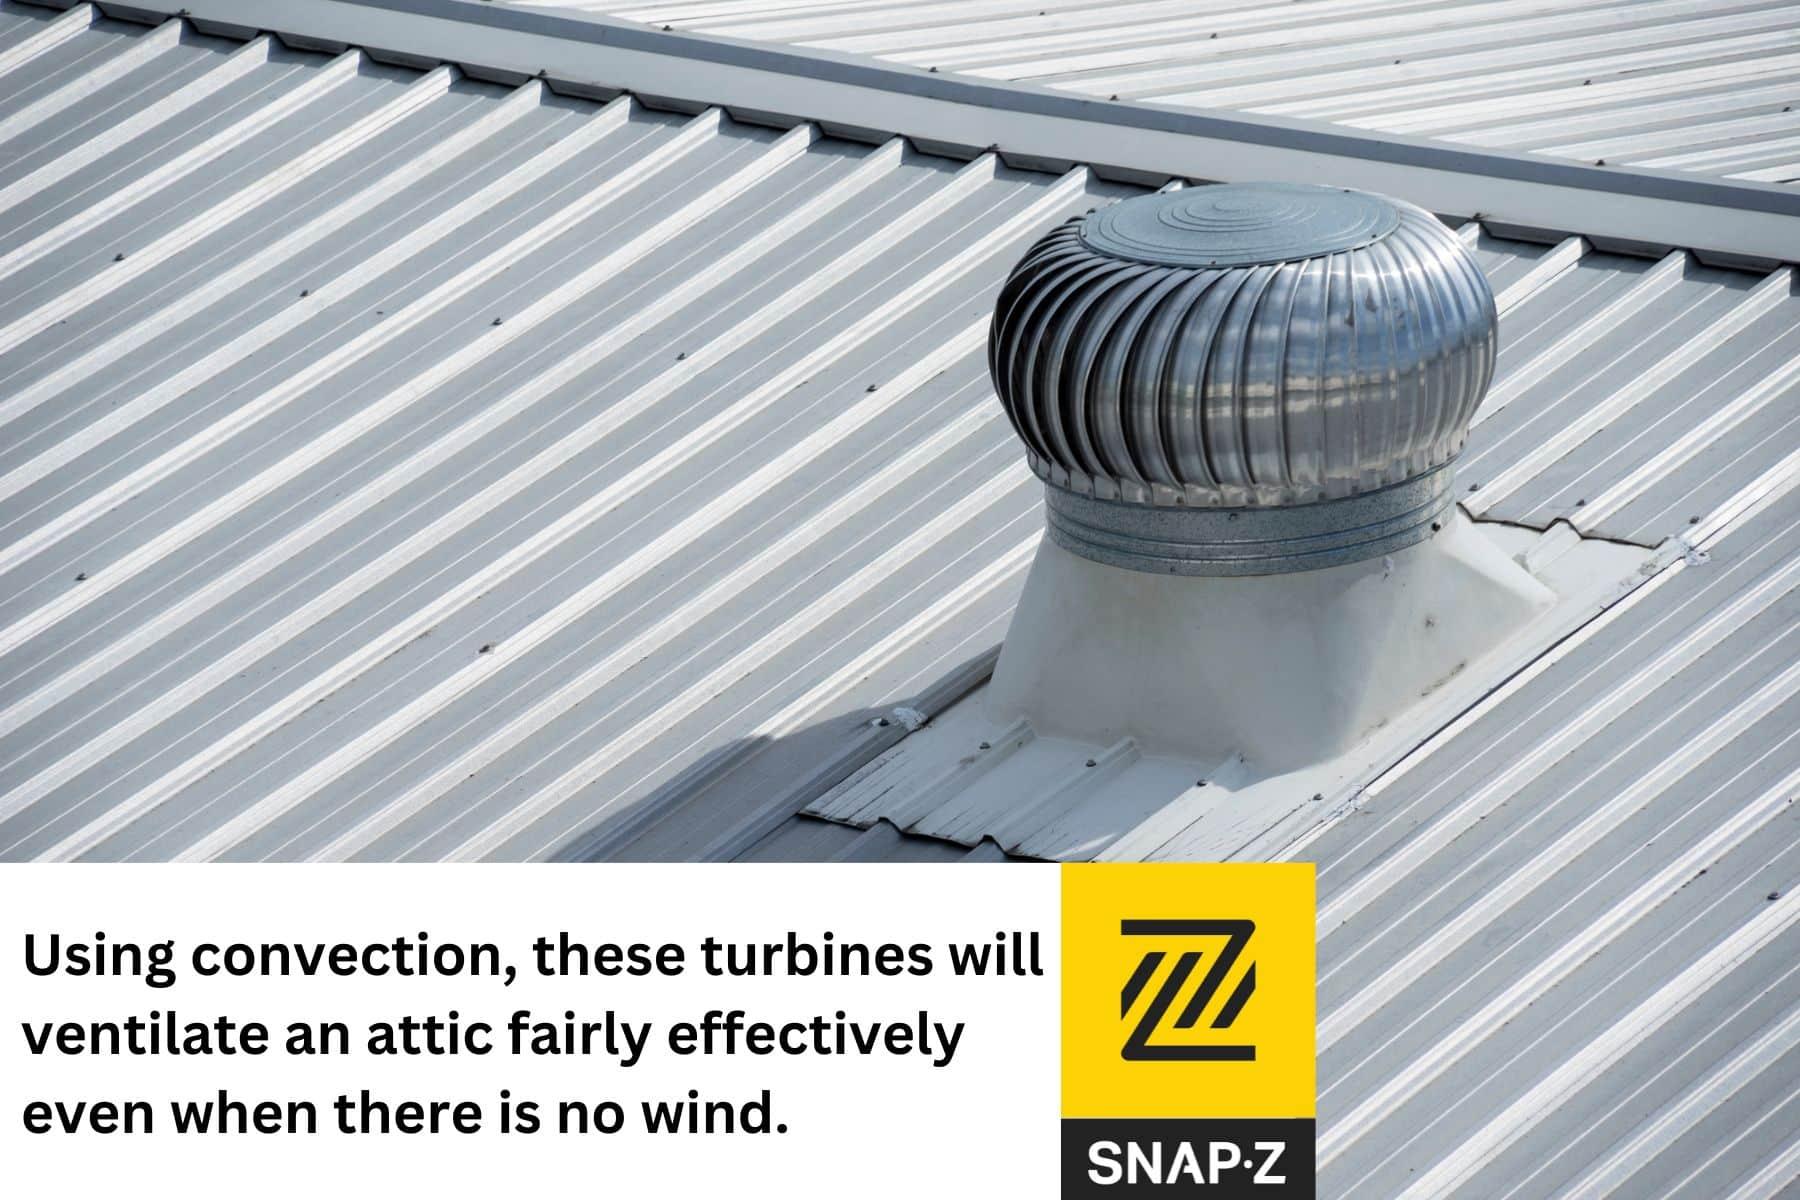
When getting started with turbine vent installation, it’s all about having the right tools and knowing the lay of the land. First things first, make sure you’ve got these essentials in hand: a ladder, a drill, a measuring tape, and a good set of safety goggles. Without them, you might as well be trying to cook a Thanksgiving turkey without an oven! Once you’re up there on the roof, positioning the vent properly is crucial for effective airflow. Remember, placing your turbine vent near the ridge of the roof can help maximize ventilation. It’s like giving your house a breath of fresh air, helping to keep it cool and dry during those sweltering summer days!
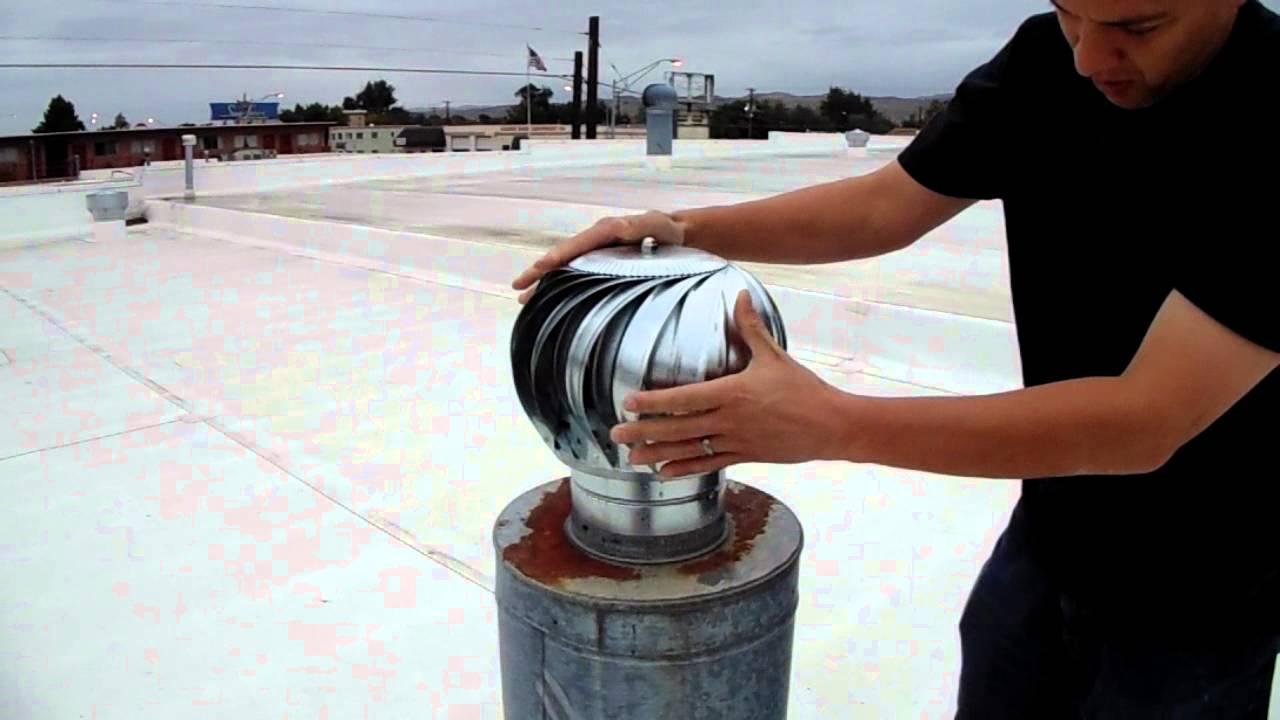
Next, let’s talk about the installation process. Begin by measuring the diameter of your turbine vent and marking the spot on your roof accordingly. You’ll want to cut a hole that mirrors the vent’s size with precision. Think of it like creating the perfect pizza—too large or too small just won’t cut it! After that, it’s time to secure the vent in place, using screws and roofing sealant to keep nasty weather at bay. A sturdy installation is key because nobody wants to deal with leaks down the line. And for an extra layer of protection, consider adding flashing around the base of the vent. A simple action, but it makes a world of difference in keeping your home safe and sound!
Choosing the Perfect Spot for Maximum Efficiency
When you’re on the hunt for that perfect place to install your turbine vent, think of it like finding the ideal spot for a sunbathing hammock—comfort and efficiency are key! You want to avoid any obstacles that might block airflow, like trees or tall buildings. An open roof space with good sunlight is ideal, allowing that breeze to do its work without interruptions. Make sure to check for any existing roof features, such as vents or chimneys, that could complicate your setup. Imagine trying to arrange a beautiful picnic only to find out that there’s a pesky ant hill nearby—yikes!
Don’t forget about the pitch of your roof; the angle affects airflow just as much as where you’ve placed it. A steeper roof can enhance wind flow directly into the vent, while a flat roof might require a bit more thought. Here’s a quick checklist to keep in mind:
- Avoid obstructions: Ensure no trees, buildings, or other vents block the airflow.
- Consider sunlight: A well-lit area can help create upward drafts.
- Assess the roof pitch: Steeper pitches can enhance performance.
If you’re still not sure where to go, consider drawing up a simple table with your options:
| Location | Pros | Cons |
|---|---|---|
| North Side | Less direct sunlight, which can help prevent overheating | Possibly blocked wind depending on nearby structures |
| South Side | Great airflow and sunlight | Potential for overheating during the summer months |
Gathering Your Tools and Supplies Like a Pro

First things first, let’s talk about gathering everything you’ll need for this project. Think of it as packing for a road trip—you wouldn’t hit the road without your snacks and playlists, right? Make sure you have all your tools lined up before you dive in. Here’s a quick list to help you out:
- Drill – Your trusty companion, it’s essential for making those holes.
- Screwdriver – Get both Phillips and flathead to tackle any screw that comes your way.
- Measuring tape – Measure twice, cut once; it’s a mantra for a reason!
- Level – You want your turbine vent to sit straight, no one likes a crooked rooftop.
- Safety gear – Goggles and gloves keep you safe when you’re up on the ladder.
Now that you have your tools, let’s talk about supplies. There’s nothing worse than running to the store mid-project because you forgot a hinge. Keep everything organized—maybe a cool tote or a toolbox could do the trick. Check out this handy table for a quick list of what you should have ready:
| Supply Item | Purpose |
|---|---|
| Roofing cement | Seals your vent and keeps it weatherproof. |
| Screws | To secure your vent in place, making it rock-solid. |
| Vent cap | Prevent unwanted critters from moving in. |
Tips and Tricks for a Seamless Installation Experience
When it comes to installing a turbine vent, preparation is key! Before you even think about getting your tools out, take a moment to gather all the essentials. Having everything at your fingertips minimizes distractions and keeps the process smooth. Here are some must-have items to include:
- Measuring tape
- Safety goggles
- Drill with appropriate bits
- Sealant or roofing cement
- Caulking gun
Additionally, consider the weather before you begin the installation. A bright, calm day is your best friend here. Working under the sweltering sun is no fun, but installing during a rainstorm raises the risk of slips and poor adhesion. Once you’ve assessed the conditions, get familiar with your roofing material. For example, asphalt shingles require a different approach than metal roofing. Knowing the ins and outs can make or break your installation success. A quick checklist before you start:
| Check Weather | Clear skies preferred |
| Roof Material Type | Asphalt, Metal, etc. |
| Tools Ready | All essential tools assembled |
Key Takeaways
And there you have it! Installing a turbine vent doesn’t have to be a Herculean task that sends you running for the hills. With the right tools, a little patience, and a sprinkle of enthusiasm, you can tackle this DIY project like a pro. Just imagine how satisfying it’ll be to step back and admire your handiwork, knowing you made your home a little more comfortable and energy-efficient.
If you’ve followed along with our YouTube guide, you’re well on your way to enjoying improved ventilation and a cooler attic space. Remember, the sky’s the limit when it comes to DIY, so don’t hesitate to put your newfound skills to the test with other projects around your home.
Got questions or tips to share? Drop them in the comments of the video or reach out to the amazing community we’ve built. We’re always here to help each other out on this DIY journey. Until next time, keep those tools close and the creativity flowing! Happy venting!