So you’ve decided to take a step back from the YouTube spotlight, huh? Maybe you’re looking to safeguard your creative gems from prying eyes or just want to experiment without the pressure of public scrutiny. Whatever your reason, making your YouTube channel private is like throwing up a cozy blanket fort around your content—safe and snug. In this guide, we’re diving into the ins and outs of keeping your videos low-key. Get ready to discover how easy it is to maintain your peace while retaining control over who gets to peek behind the curtain. Let’s embrace a quieter corner of the internet together!
Understanding YouTube Privacy Settings to Control Your Audience
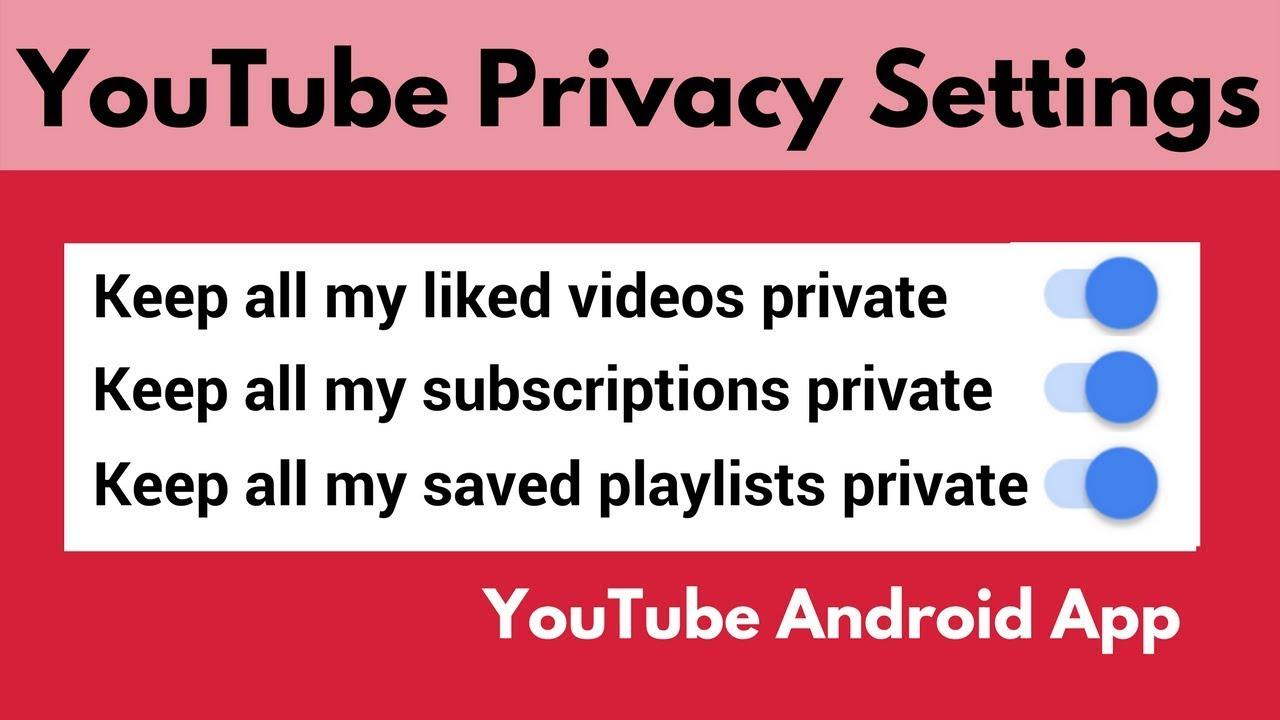
When you dive into the depths of YouTube’s privacy settings, it’s like discovering a treasure chest of control. From selecting who sees your videos to tweaking when and how they’re visible, every option is designed to give you the steering wheel. You want your content to be seen by the right eyes? Focus on these settings:
- Video Visibility: Choose between Public, Unlisted, and Private. Public means anyone can see it; Unlisted means only folks with the link can watch; Private keeps your gems hidden away for only a select few.
- Comments and Interactions: Control the chatter! Decide if you want all comments, hold some for review, or disable them completely—your call.
- Channel Settings: Set your entire channel to private, where no one can view your uploads or playlists unless you approve them.
Remember, managing your audience is like curating a guest list for a party—only invite those who vibe with your content! To make this process smoother, check out the table below for a quick contrast of each option:
| Setting | Description | Best For |
|---|---|---|
| Public | Visible to everyone on the platform. | Growing your audience. |
| Unlisted | Only accessible through a direct link. | Sharing with friends or small groups. |
| Private | Only specified users can view the content. | Sharing personal or sensitive content. |
Choosing the Right Privacy Option for Your Content
When it comes to your YouTube videos, privacy settings are like choosing whether to share your journal with the world or keep it tucked away in a drawer. If you’re looking to control who sees your content, you’ve got several options to consider. You can go for Public, where everyone and their dog can find your masterpiece, Unlisted, so only folks with the link can check it out, or Private, meaning it’s just for your eyes (and a select few). Think of these choices like setting the mood for a party; do you want it packed full or a cozy gathering?
Before you hit that “upload” button, take a moment to ponder your audiences’ needs. Ask yourself: Who do you want to see your content? If you’re leaning towards Unlisted or Private, jot down who you’d share it with—maybe it’s friends, family, or just a trusted group of colleagues. Here’s a quick table to help you visualize the differences:
| Privacy Option | Visibility | Link Sharing |
|---|---|---|
| Public | Everyone | Not needed; searchable |
| Unlisted | Anyone with the link | Yes; shareable |
| Private | Only specified users | No; invite only |
Step-by-Step Guide to Making Your Videos Private
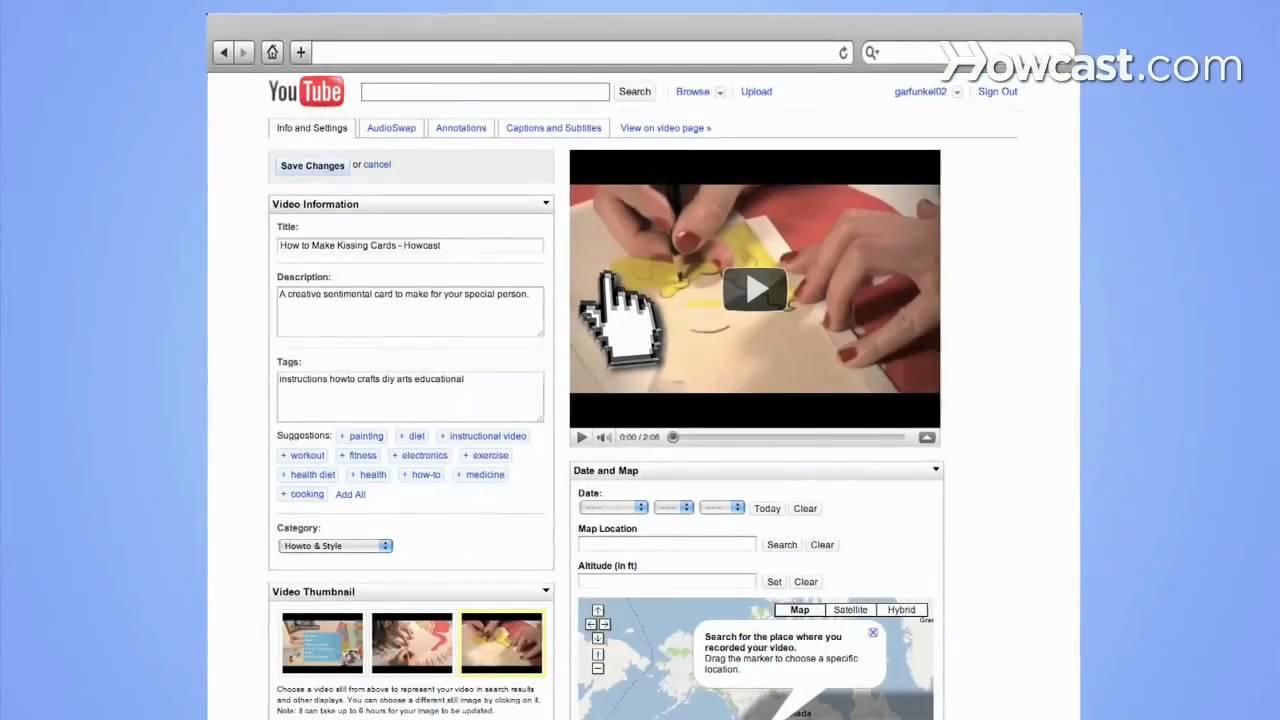
Making your videos private on YouTube is as easy as pie! First, head over to your YouTube Studio by clicking your profile icon and selecting “YouTube Studio.” Once you’re in, navigate to the “Content” section on the left sidebar. Here, you’ll see a list of all your uploaded videos. Now, all you need to do is find the video you want to keep under wraps. Click on the pencil icon for “Details.” This will take you to the settings for that video. From there, look for the “Visibility” option – this is where the magic happens!
In the “Visibility” section, click the dropdown menu and choose Private. This means that only you (and anyone you choose to share it with) can see your video. It’s like having a personal screening for your select audience! Make sure to hit Save at the top right corner to lock in those changes. Easy peasy, right? If you want to make multiple videos private at once, you can check the boxes next to the videos in the “Content” section and select Edit > Visibility > Private from the dropdown options. Just like that, you’ve turned your bustling public board into a serene private theater!
Tips for Managing Your Private Videos Like a Pro
Managing your private videos can feel like guarding a treasure. First off, get cozy with YouTube’s privacy settings. Dig into your account and find the video you want to keep under wraps. You can choose options like “Private”, which means only the people you invite can watch it, or “Unlisted”, where anyone with the link can see it but it won’t show up in search results. Just think of it like a bouncer at a club—certain folks are in, and they can bring their friends along if you let them!
Next, make the most of your playlists. Group your personal clips into private collections to streamline your viewing experience. It’s like organizing your closet—everything has a place! Additionally, regularly review who has access to your videos. Life changes, and so do your circles. Keep your privacy tight by removing old invites and updating your settings when needed. This way, you can enjoy your videos without worrying about who’s peeking in!
The Conclusion
And there you have it! Navigating the world of YouTube privacy doesn’t have to feel like trying to solve a Rubik’s Cube blindfolded. With the steps we’ve covered, you’re now equipped to keep your content on the down-low, just the way you like it. Whether you’re curating videos for a select few or just want a little space away from the prying eyes of the internet, going private is like putting on your favorite pair of comfy sweatpants—cozy and totally reassuring. So, take control of your digital space, breathe easy, and remember: it’s your channel, your rules. Go ahead and give it a try! You’re just a few clicks away from a more zen YouTube experience. Happy video curation! ✌️