Ready to unleash your creativity and transform plain handkerchiefs into stunning works of art? If you’ve got an SE770 stashed away, it’s time to dust it off and dive into the delightful world of handkerchief embroidery. Think of it as giving an ordinary piece of fabric a luxurious makeover! Whether you’re a seasoned pro or just dipping your toes into the embroidery pool, this step-by-step guide will walk you through every stitch, ensuring your handkerchiefs are not just accessories, but true treasures. Grab your thread, and let’s make some magic happen!
Understanding Your PE770: Unleashing the Magic of Handkerchief Embroidery
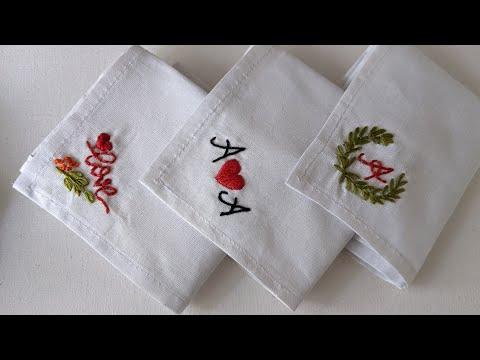
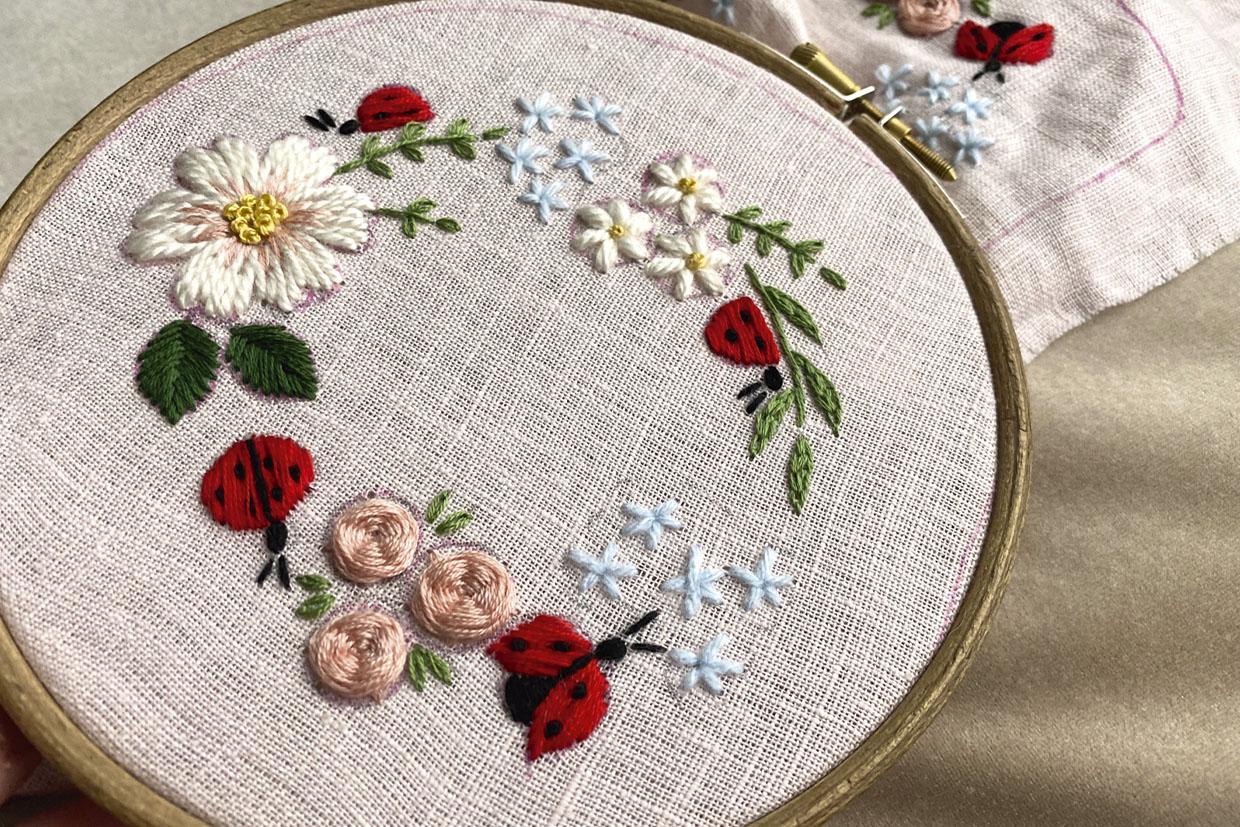
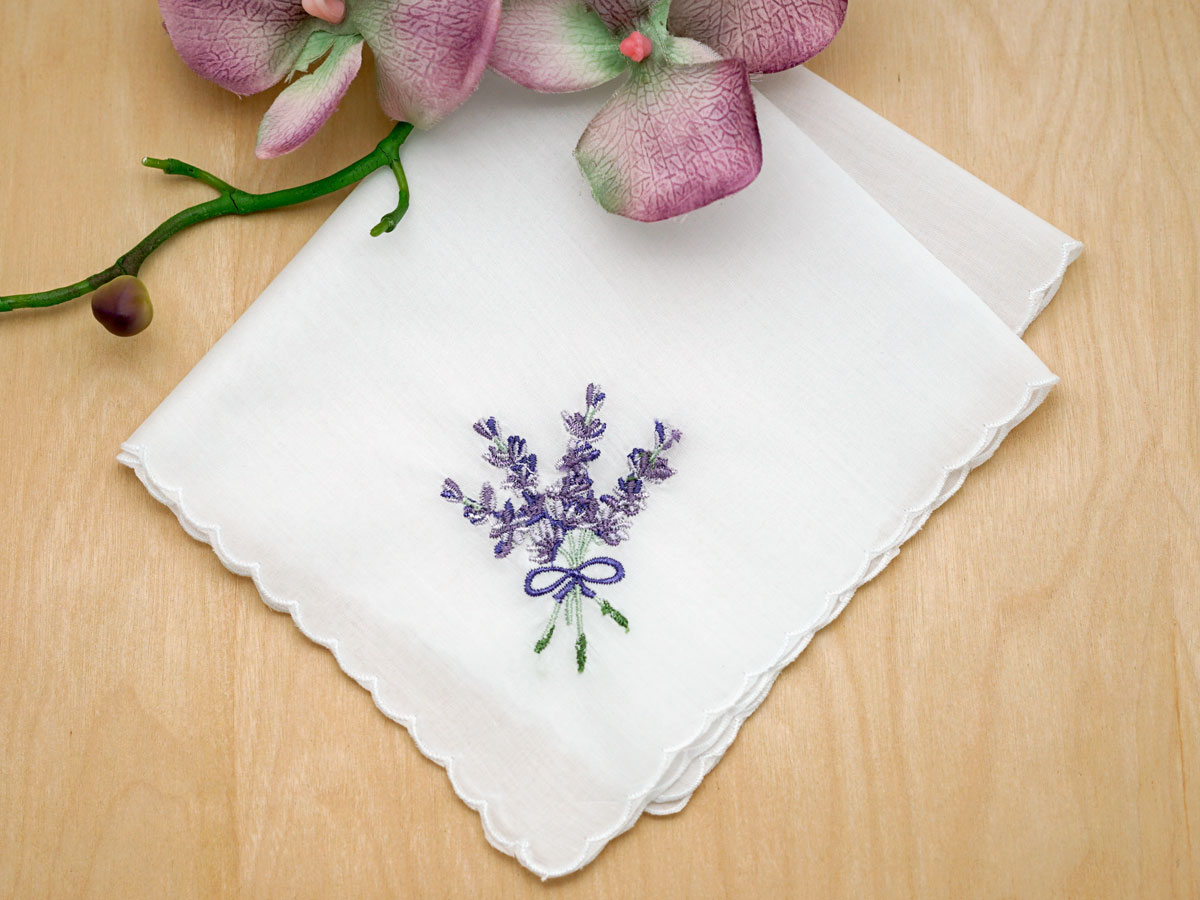
When it comes to crafting that perfect handkerchief with your PE770, think of it as painting a masterpiece on a canvas – in this case, your fabric. The first step? Choose your fabric wisely! Opt for cotton or linen, as they provide a nice structure and hold the stitches beautifully. Be sure to prep your fabric by washing and ironing it. You wouldn’t want any unwanted surprises popping up, like shrinking or fading. Follow that up by selecting a design that speaks to your personality, and don’t forget your thread choice! Whether you go for bold or subtle hues, this is your chance to let your creativity shine. You can browse through the built-in designs or even upload your own custom motifs to really make it uniquely yours. There’s something magical about transforming a plain piece of fabric into a conversational piece that can spark joy or stir memories.
Now, let’s talk about the setup. Begin by loading your embroidery design onto the machine’s USB drive – it’s like getting the software ready for an adventure! Place your chosen fabric into the hoop, ensuring it’s taut but not stretched. Trust me, a tight fit will make all the difference in achieving that professional look. Before you hit the start button, do a quick check: Are the thread tensions right? Did you select the correct design size? Think of it as preparing for a trip; you wouldn’t forget your essentials! Once everything’s ready, unleash the magic by starting your machine. Not only will you create a stunning piece, but you’ll feel a wave of satisfaction as it all comes together, stitch by stitch. Remember, practice makes perfect, so don’t shy away from experimenting with different designs and techniques until you master that art of handkerchief embroidery!
Choosing the Right Fabrics and Threads for Stunning Results
When diving into the world of handkerchief embroidery, the fabric you choose can make or break your project. It’s like picking the right canvas for a masterpiece. Opt for lightweight cotton or linen; they soak up colors beautifully and give you crisp, clean edges. If you’re feeling a bit adventurous, consider blends that have a touch of polyester for durability. These fabrics hold up well against repeated washes. You might also want to think about the thread type – a good rule of thumb is to match the thread weight with your fabric weight. For finer handkerchiefs, go with 40wt threads for that delicate touch, while sturdier fabrics can handle 30wt or even 12wt for bolder designs. Isn’t it fascinating how the right choices can enhance the beauty of your embroidery?
Now, let’s talk about thread colors. Picking the right shades is crucial; pick ones that pop against your fabric! A quick glance at the color wheel can spark creativity. Here are a few tips to keep in mind:
- Choose contrasting colors for a striking visual appeal.
- Consider tone-on-tone threads for an elegant, understated look.
- Add a splash of metallic for that extra shimmer on special pieces.
To make your life easier, here’s a simple comparison table of popular thread types and their best fabric matches:
| Thread Type | Ideal Fabric | Best Uses |
|---|---|---|
| 40wt Cotton | Lightweight Cotton | Delicate embroidery |
| 30wt Poly | Linen | Medium-weight projects |
| 12wt Metallic | Blends | Accent stitching |
Mastering the Art of Design: From Concepts to Stitches

Getting started with handkerchief embroidery on your PE770 can feel a bit like preparing for a weekend camping trip—exciting but with a bit of nerves. First, you’ll want to gather your supplies to set yourself up for success. Here’s what you’ll need:
- Your PE770 embroidery machine: Treat it like gold; it’s your crafting sidekick!
- Quality handkerchiefs: Choose fabric that feels soft yet sturdy for that perfect stitch.
- Embroidery thread: Go for vibrant colors that pop but don’t clash with your handkerchief.
- Stabilizer: This helps hold everything in place; think of it like a safety net.
- Embroidery software: This is where the magic happens, allowing you to create stunning designs.
Once you’ve gathered your gear, the real fun begins! Start by choosing or designing a pattern that resonates with you—imagine a beautiful monogram or a charming floral design. Load your handkerchief into the hoop, ensuring it’s taut like a drum—this prevents any looping or puckering while stitching. As you set your machine, remember to go slow and steady; think of it as dancing with the fabric. One minute you’re gliding over the smooth surface, and the next, you’re like an artist painting on a canvas as every stitch comes to life. Don’t be afraid to play around with thread tension and speed; it’s all about finding what works best for your unique style!
Finishing Touches: Tips for a Polished and Professional Look
To achieve that professional finish with your handkerchief embroidery, don’t overlook the little details that make a huge difference. Start by using a high-quality stabilizer; this is your secret weapon to prevent distortion. Remember, embroidery is like painting on a canvas, and a good base keeps everything looking sharp and clean. Trim away any excess thread after you’ve completed your design—this not only enhances the visual appeal but also prevents fraying. When you’re ready to attach the handkerchief to its backing, consider using fabric glue for a secure hold without the rigidity of a stitched seam.
Don’t forget to test your thread tension on a scrap piece before diving in; too loose or too tight can ruin your hard work. Also, using a polishing cloth to shine up your finished piece can give it that extra oomph! If you want to get fancy, you can even add a personal touch by incorporating monogramming. Here are some key finishing touches to consider:
- Iron the handkerchief: A crisp press removes wrinkles.
- Choose the right thread: Go for colors that pop against the fabric.
- Inspect your design: Look for any loose threads before showcasing it.
Insights and Conclusions
And there you have it! You’re now well-equipped to take on the art of handkerchief embroidery with your PE770. It’s like stepping into a cozy craft shop right in your own home. Just think about how satisfying it’ll be to see those intricate patterns come to life with each stitch. Whether you’re crafting a personalized gift or adding a touch of elegance to your own collection, you’re not just sewing; you’re creating memories.
Remember, practice makes perfect, so don’t get discouraged if your first few handkerchiefs aren’t exactly runway-ready. With time, you’ll find your groove and really start to enjoy the process. So grab that handkerchief, fire up your machine, and let your creativity flow! Happy stitching!